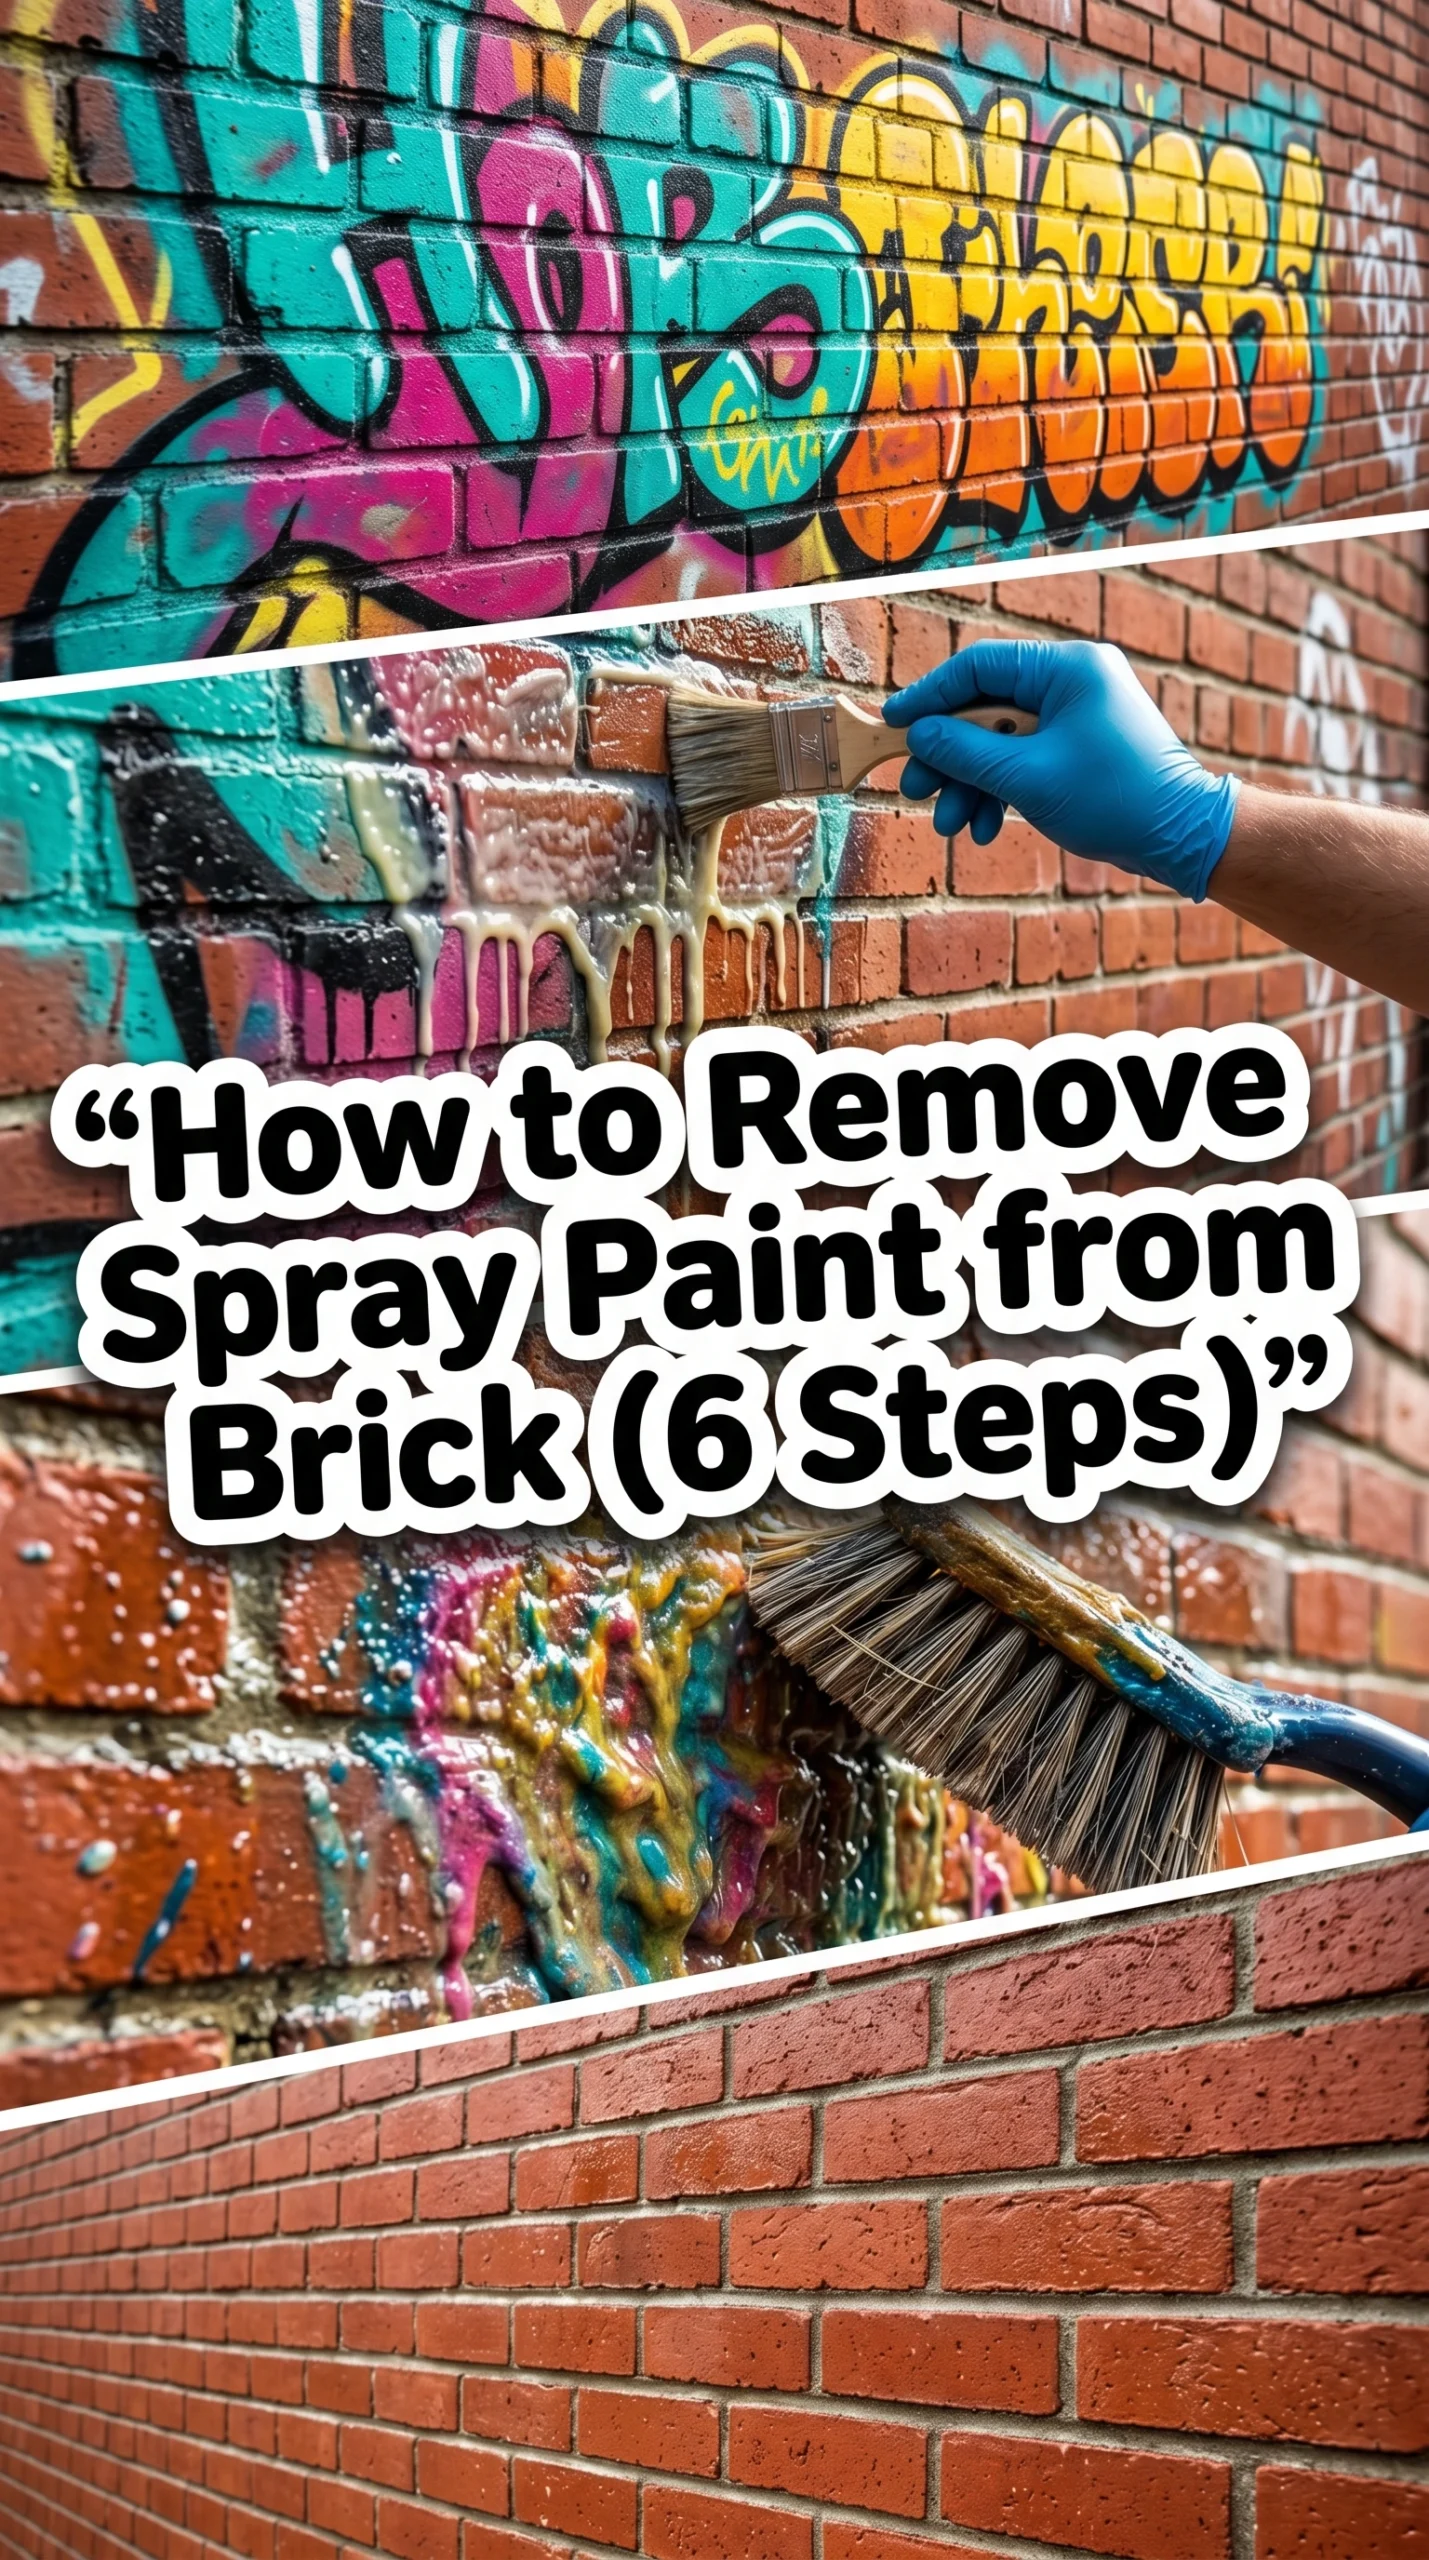
Dealing with unexpected vandalism on your property is incredibly frustrating, right? Whether it’s a random tag on your garden wall or a messy accident from a DIY project gone wrong, staring at that bright color on your beautiful masonry can induce panic.
When you wake up to find vandalism, your first thought is probably about how to remove spray paint from brick without making it worst. Brick is practically a sponge because of its porous nature, which means aerosol paint sinks in super fast. But don’t worry! With the right approach, you can totally tackle this DIY graffiti removal brick project safely. Let’s dive into a realistic way to save your masonry.
Table of Contents
Step 1: Prep, Protect, and Gear Up
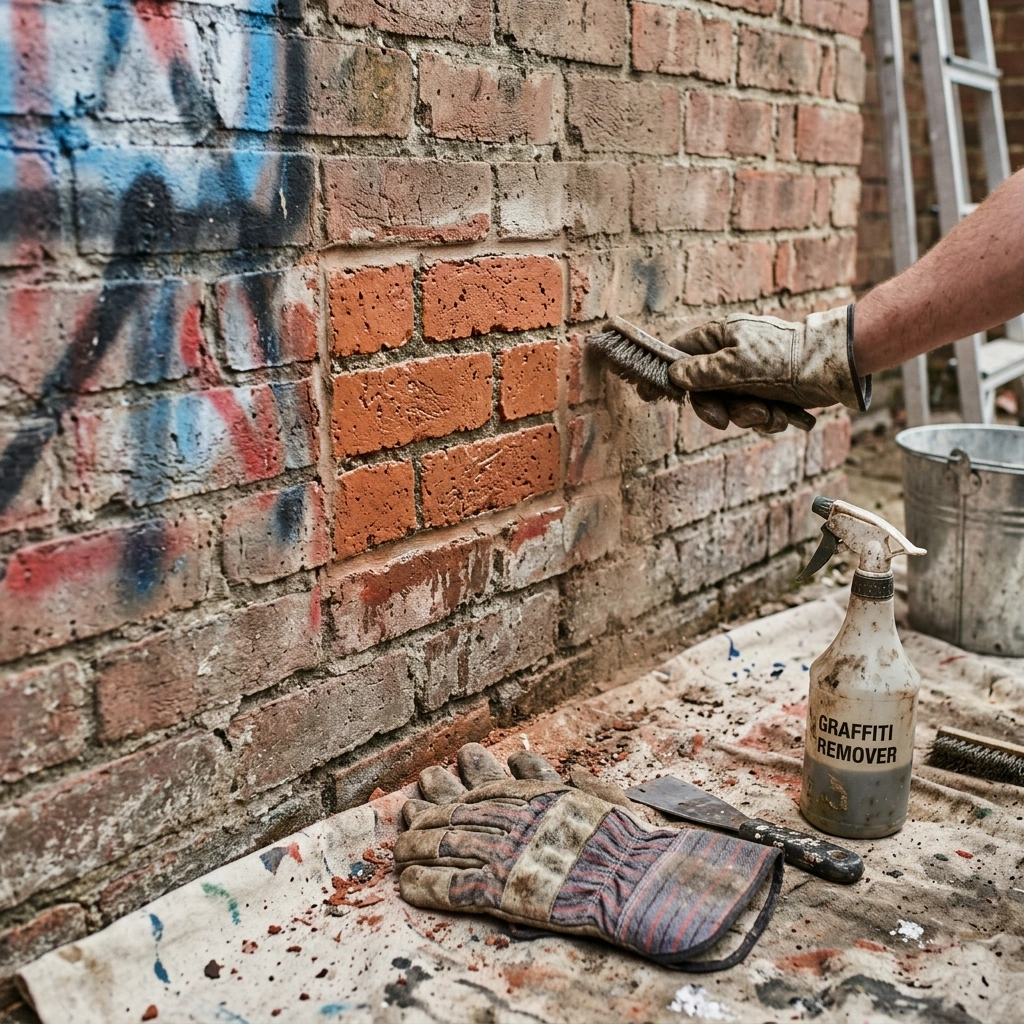
Before tackling any brick wall paint stain removal, you need to set the stage. The environment you are working in completely dictates your setup.
- Safety First: Grab your safety gear—thick rubber gloves, protective goggles, and a respirator mask are non-negotiable because commercial paint strippers aren’t a joke.
- The Golden Rule: Carefully brush off any loose dust from the wall first. Then, always test your cleaner on a tiny, hidden spot near the ground. You don’t want to find out that your chemical melts your specific mortar right in the middle of the wall!
Step 2: Choose Your Strategy (Fresh vs. Old Paint)
Timing is absolutely everything with spray paint cleanup on brick.
If you deal with fresh paint, you got a much better chance of getting it out quickly. Fresh paint (less than 24-48 hours old) can often be absorbed by dabbing it gently with a rag soaked in a mild masonry solvent before it fully cures.
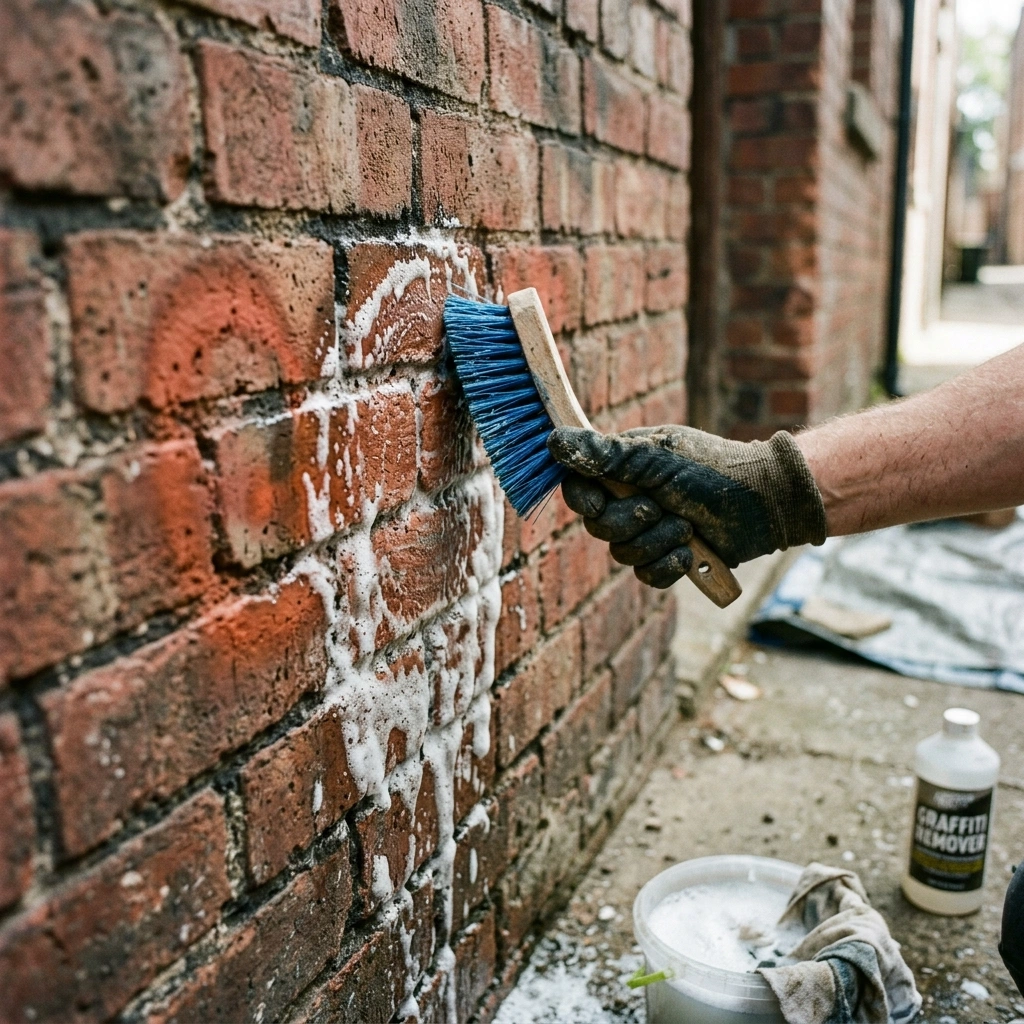
Old, baked-on dried spray paint? That’s a totally different beast. For older stains, you need a heavy-duty, brick-safe graffiti remover gel. Gels are awesome because they cling to the vertical surface instead of just dripping straight down the wall into the dirt. Apply the remover generously over the tag, making sure you push it slightly into the crevices. Read the manufacturer label carefully so you know exactly how long it needs to sit to activate.
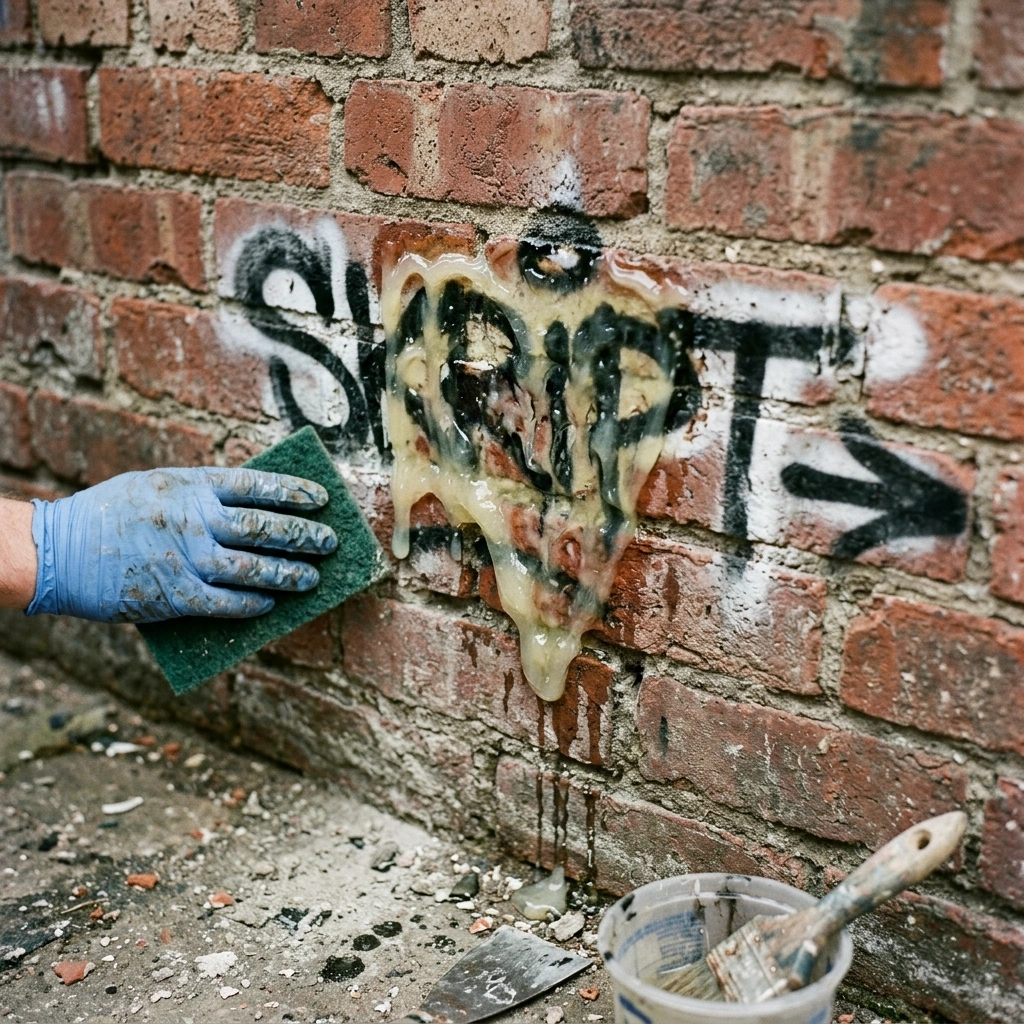
Step 3: The Wait and Blot Technique
Patience is hard when you’re mad about a stain, but you have to let the chemical do the heavy lifting. Once the remover has sat for the recommended time (usually 10 to 30 minutes), the paint will start to wrinkle, bubble, or soften.
Do not immediately start scrubbing! If the paint is still somewhat wet or melting, aggressive scrubbing will just spread the pigment further into the clean, porous areas of the brick. Instead, use clean, absorbent rags or heavy-duty paper towels to blot and lift the softened paint away. Just dab firmly, fold the rag to a clean side, and dab again.
Step 4: Gentle Agitation (What NOT To Do)
Eventually, blotting won’t get it all, and you’ll need to scrub. Here is where most people panic and accidentally ruin their walls.
- Avoid the metal: Never use wire brushes, metal scrapers, or harsh grinding tools. Metal will literally scar the brick face and chew right through your mortar, leaving permanent damage that looks far worse than the paint did. Also, avoid using random household solvents like nail polish remover, which can just thin the paint and drag it deeper.
- The right tools: Instead, use a stiff nylon or natural bristle scrub brush. Gently agitate the remaining cleaner and paint in small, circular motions. The goal here is to coax the pigment out of the little pits and valleys without wearing down the protective baked crust of the brick itself.
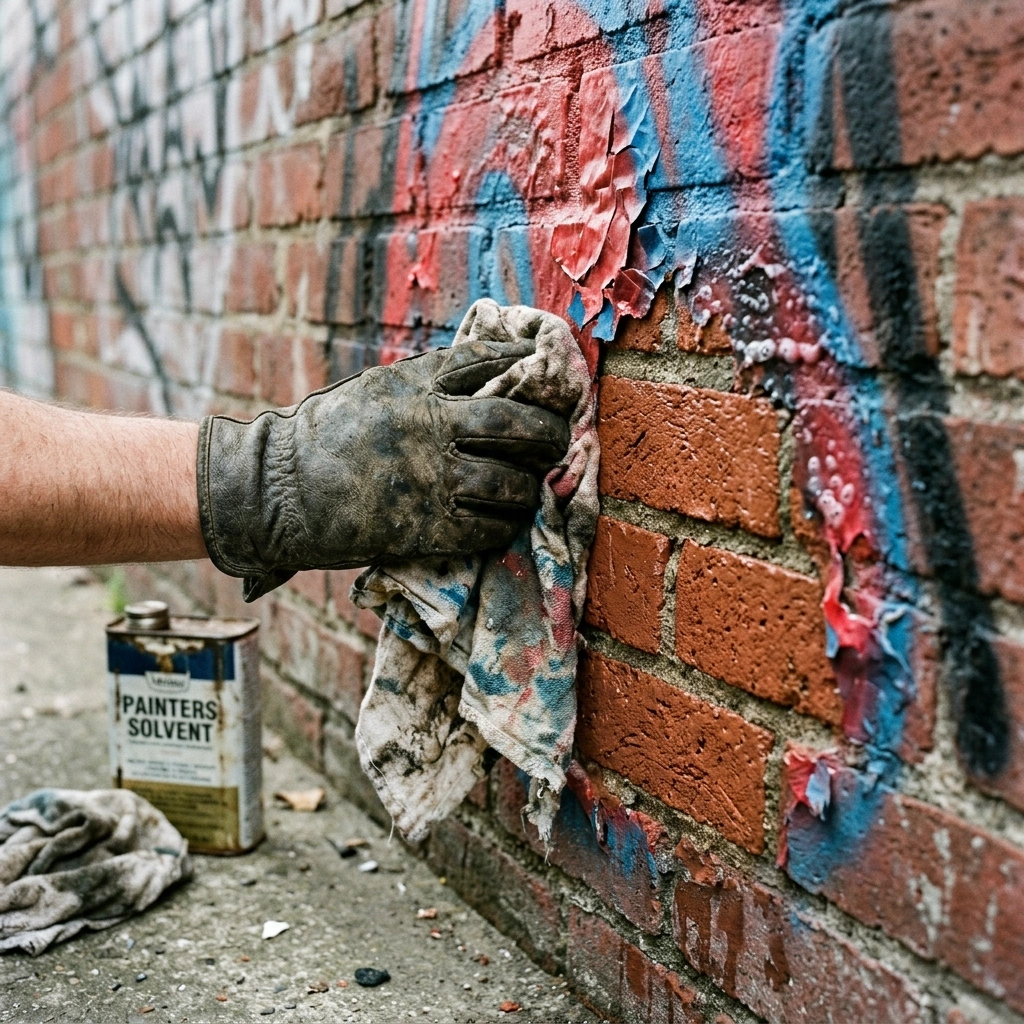
Step 5: Rinse and Repeat
Once you’ve lifted as much paint as possible with your brush, it’s time to wash the nasty residue away. Make sure you rinse the area good before it drys completely.
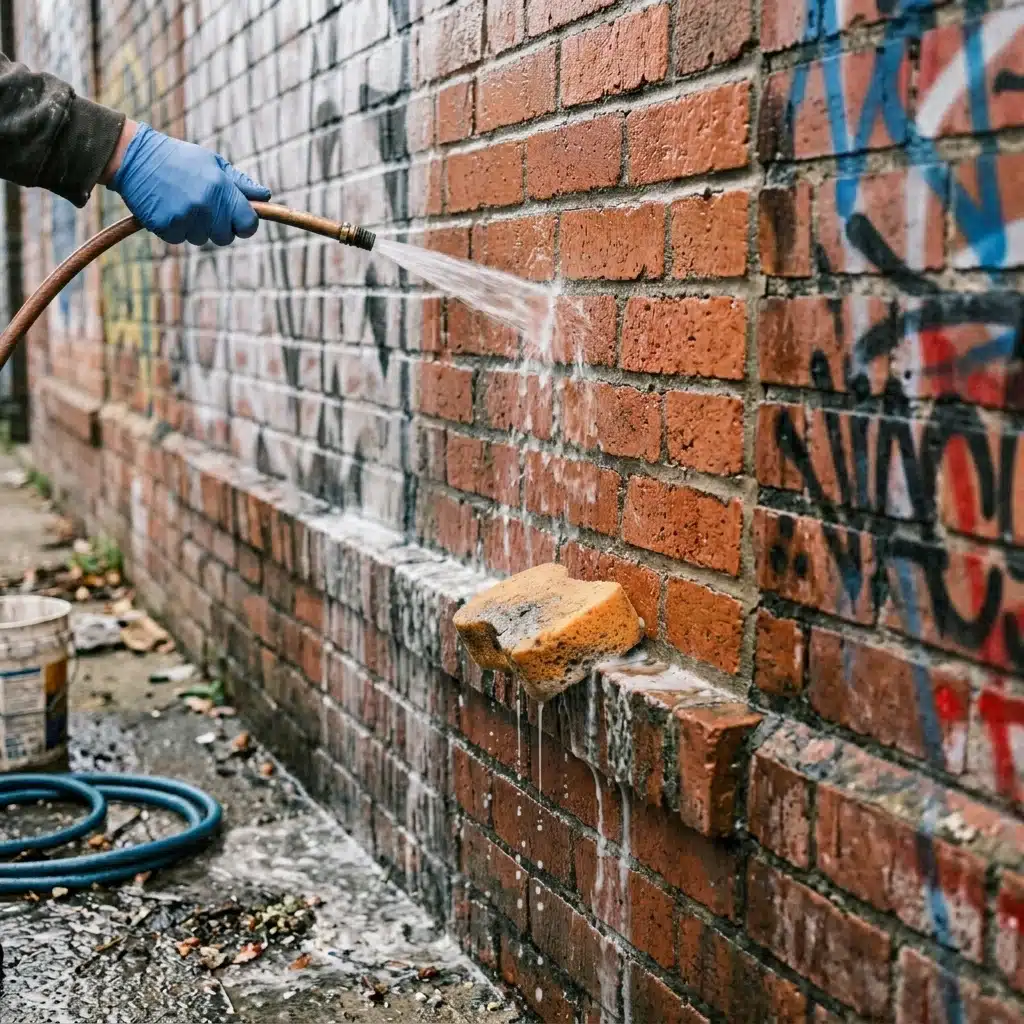
- Outdoor cleanup: A standard garden hose with a spray nozzle usually works great. Avoid blasting the wall with a high-pressure power washer on a narrow setting, especially on older brick, because you can easily blast the fragile mortar right out of the joints.
- Indoor cleanup: Use a bucket of warm water and a heavy contractor sponge to carefully wipe away the residue, wringing it out frequently.
Don’t be discouraged if it isn’t perfect yet. You will almost certainly have to repeat steps 2 through 5. It usually takes two or three passes to completely clean aerosol paint from masonry.
Step 6: Troubleshooting the Tough Stuff
Sometimes, you faithfully follow all the rules to remove paint from outdoor brick, but you’re still left with lingering problems.
Dealing with multiple layers of different colors? You just have to treat it layer by layer, being patient as the chemical strips each individual coat. But what if you’re left with a faint, shadowy outline of the tag after the surface feels clean? Those are called “ghost stains.”
They happen because tiny pigment particles get trapped deep inside the brick’s microscopic pores. For ghost stains, you might need to apply a masonry poultice—a thick paste that draws out deep stains as it hardens—or use a specialized graffiti shadow remover designed specifically for deep penetration.
Conclusion
To successfully restore brick after spray paint, speed is definitely your best friend, but having a gentle hand is what ultimately saves your masonry. Panicking and hitting the wall with wire scrapers or cheap thinners will only leave you with a scarred, smeared mess that is ten times harder to fix.
By trusting the right chemical removers to do the hard work and treating your brick with respect, you preserve its natural, rugged character. Remember, getting aerosol paint out of porous surfaces is a marathon, not a sprint. Be patient with the blotting, take your time with the nylon brush, and you’ll get your beautiful wall back looking exactly the way it should.