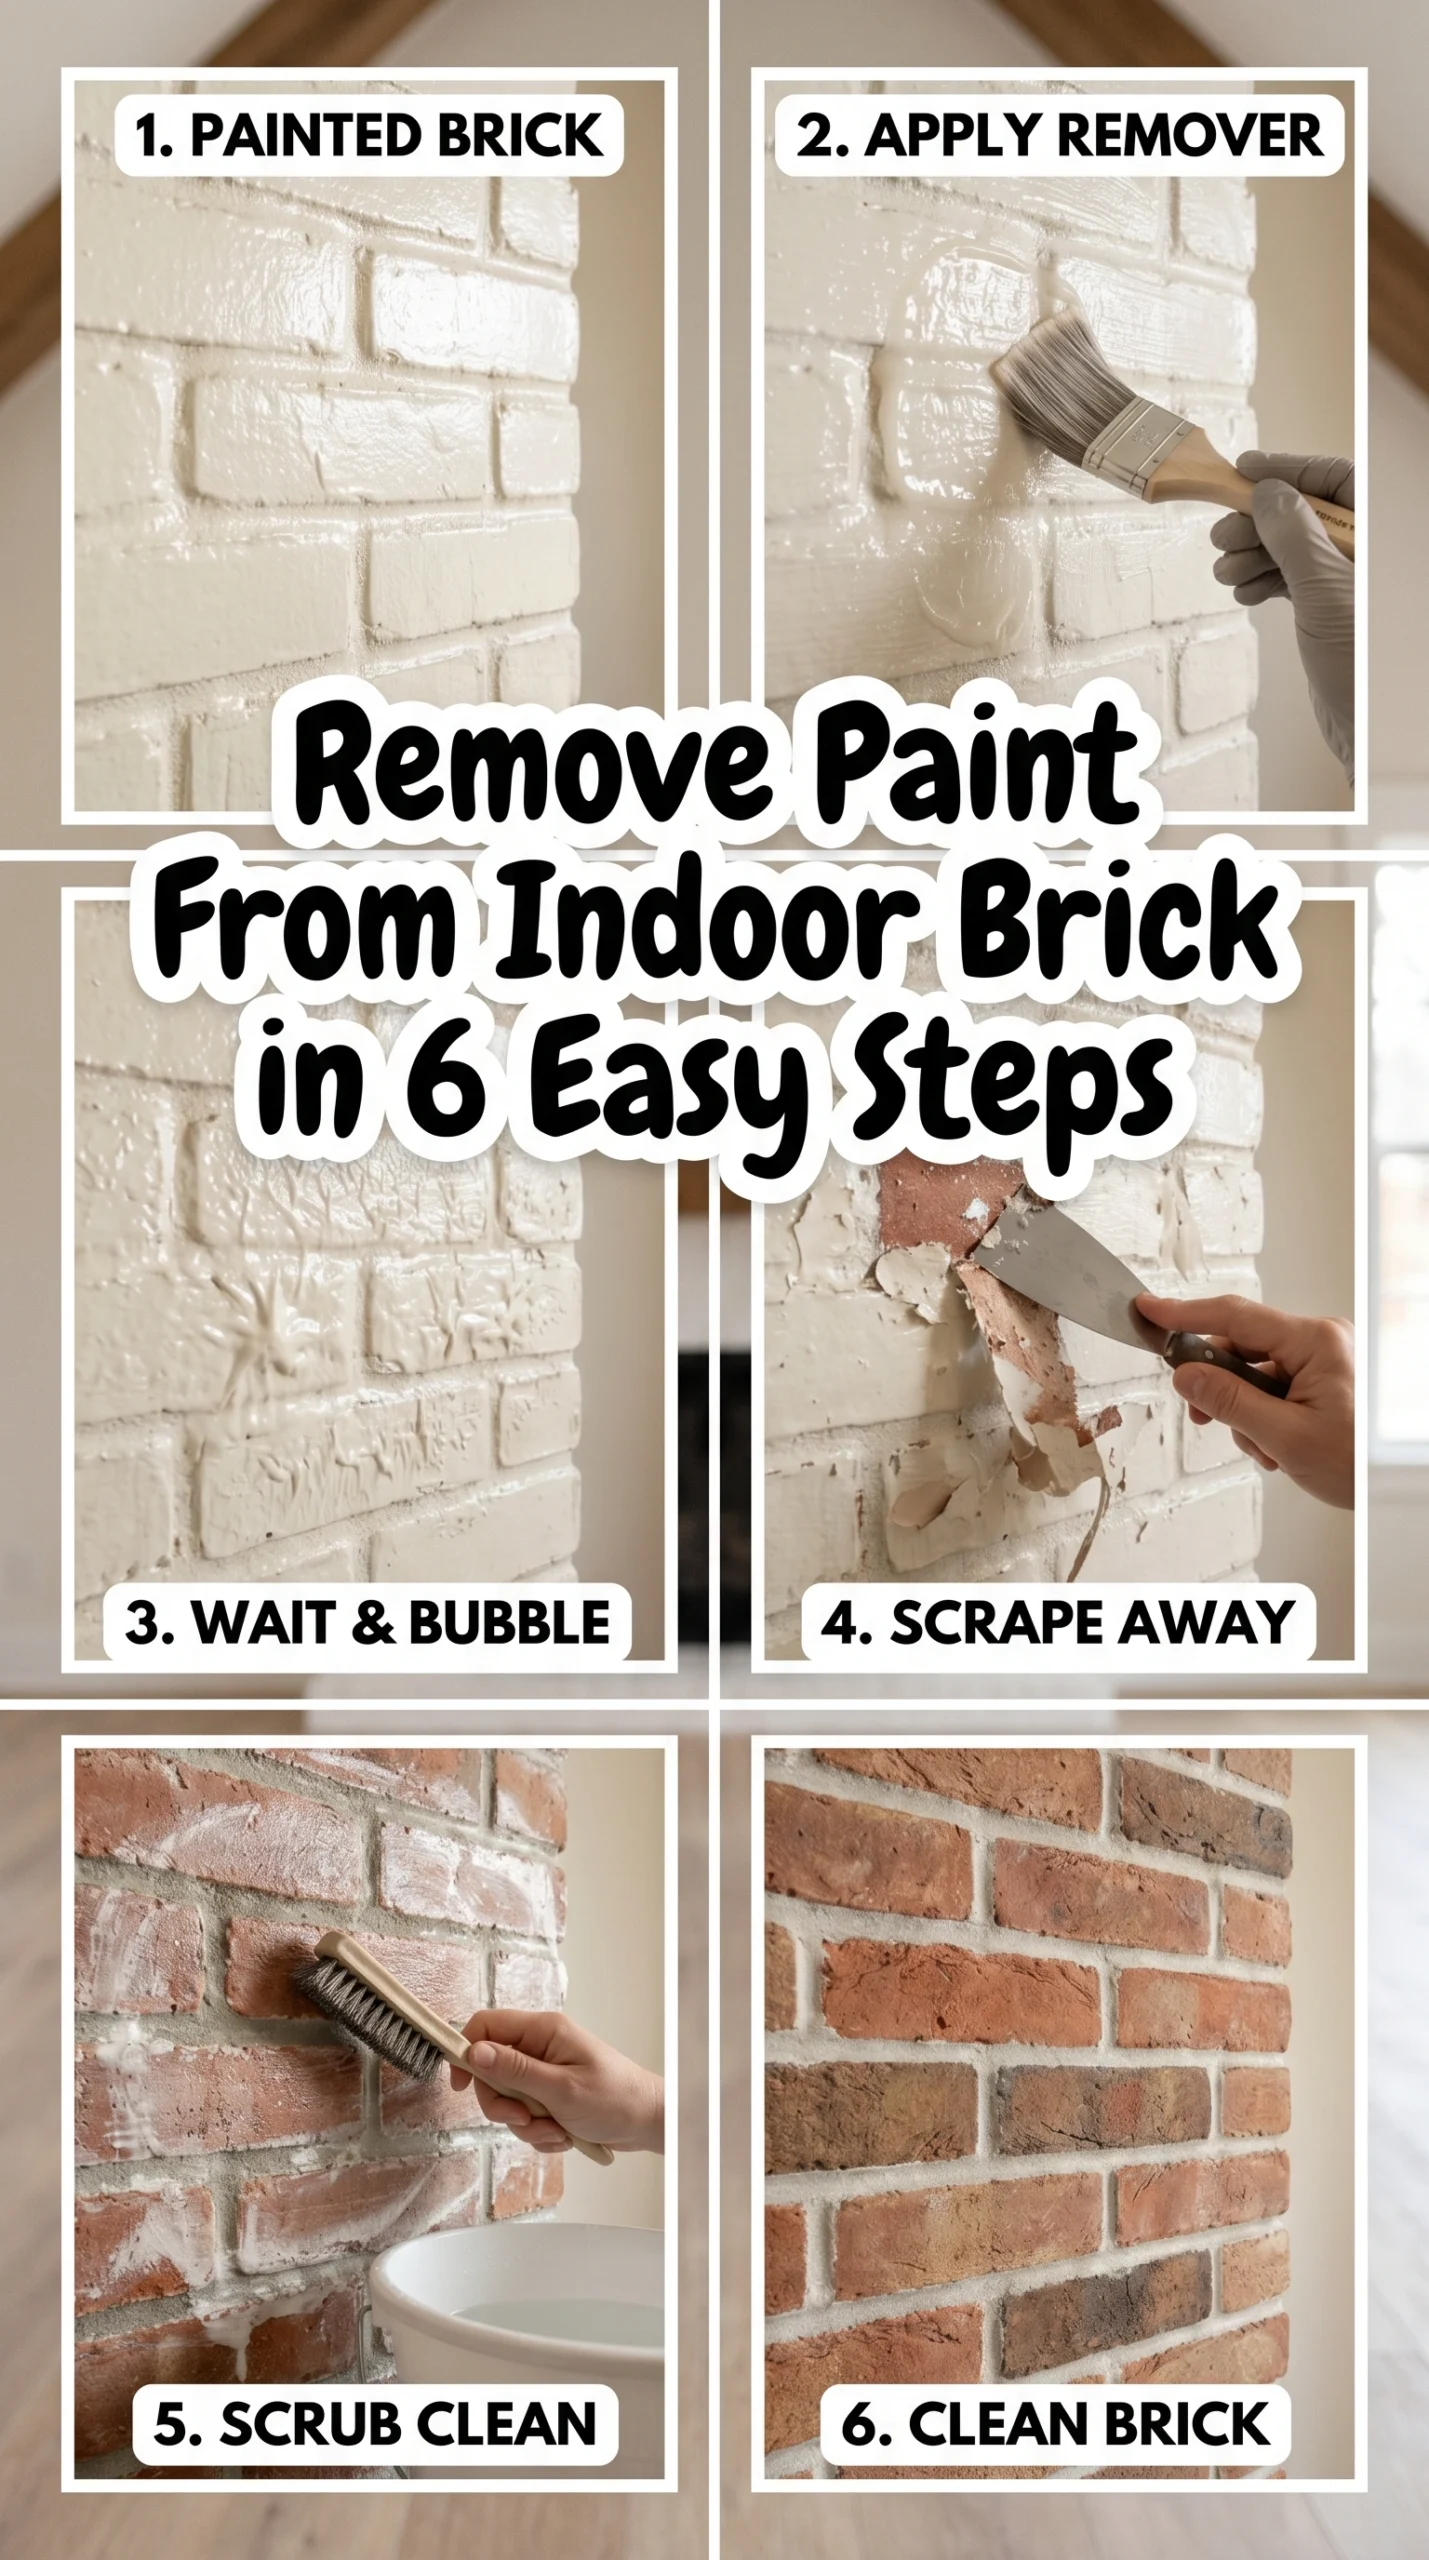
Figuring out how to remove paint from brick indoors can feel incredibly daunting. Maybe you just bought an older home where someone thought painting the living room brick was a great idea, or you are tired of that sterile white fireplace. Stripping paint from a brick fireplace or wall isn’t like sanding wood. Brick is very porous, meaning it literally drinks up paint.
Plus, doing this inside means you have to be super careful about messes, fumes, and dust. Don’t worry though! With the right approach and some patience, you can absolutely restore interior exposed brick to its natural, warm glory. Let’s dig into the smartest way to tackle this messy project without ruining your living room.
Table of Contents
Step 1: Prep and Protect the Room
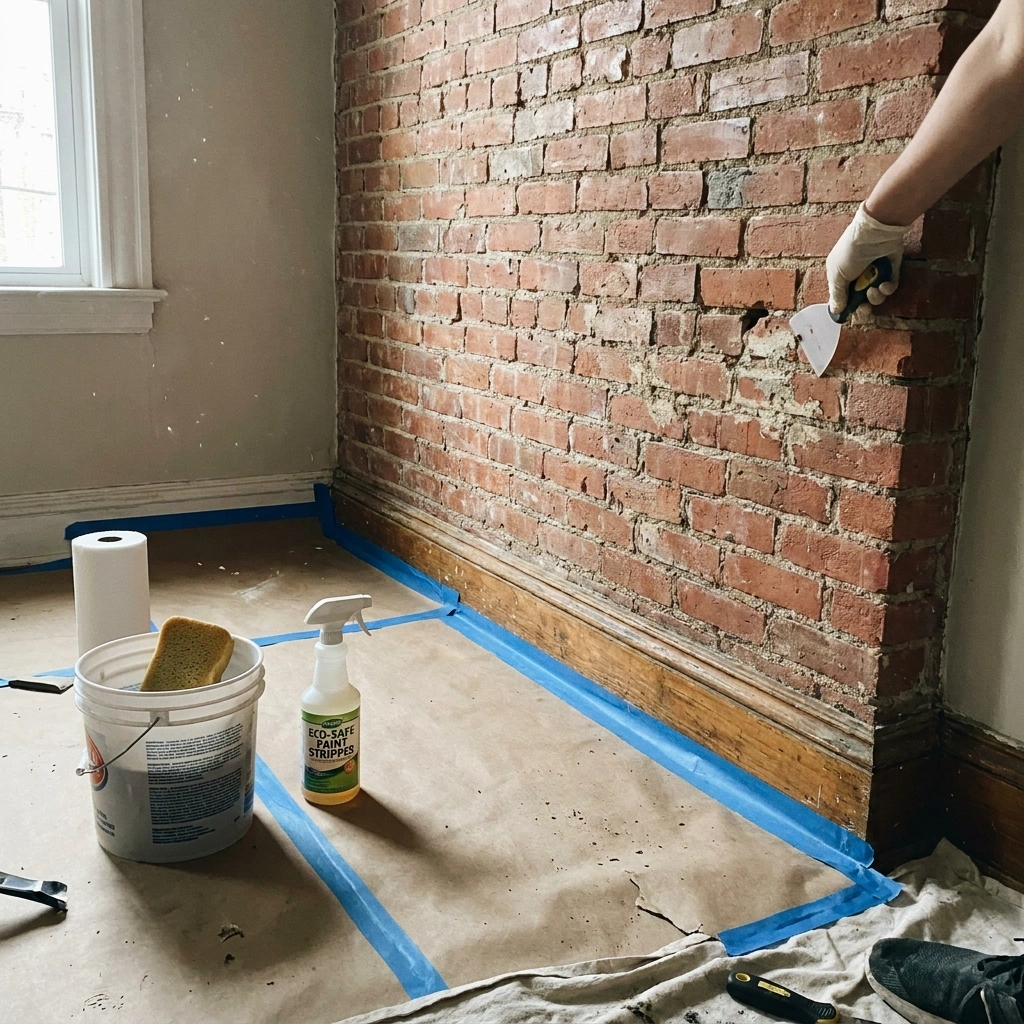
First things first, preparation is everything. Indoor masonry paint stripping gets messy fast, so you needs to protect your space before opening any chemicals. Move all your furniture out of the room, or at least far away into the center, and cover it up tightly.
Lay down heavy-duty plastic drop cloths on the floor, and tape them securely to the baseboards. Make sure to wipe down the brick surface with a dry rag to remove loose dust or cobwebs, too. You don’t want old dirt mixing with your paint stripper!
Step 2: Setup Ventilation and Safety Gear
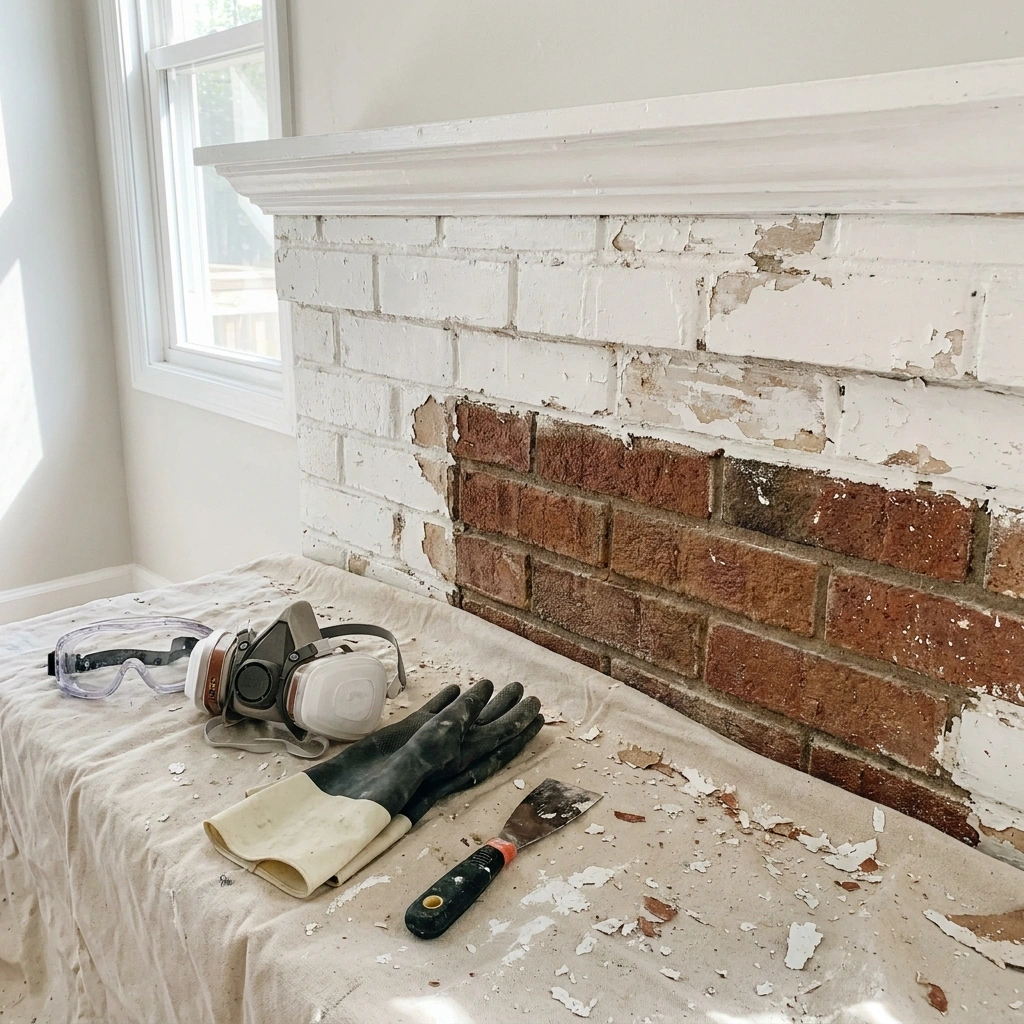
Safety always comes first, right? Even if you’re using a modern, low-odor masonry-safe paint stripper, you still need decent airflow inside the house. Open your windows wide and set up a box fan pointing outward to pull stale air and fumes outside. Next, gear up.
Put on thick chemical-resistant gloves, safety goggles, and a good mask if your dealing with older, potentially lead-based paint dust. Never skip room protection or safety gear just because you want to get the job done faster. Take frequent breaks if the air feels heavy.
Step 3: Test a Hidden Spot and Apply Stripper
Before you slather the whole wall, find a small, hidden corner near the floor to test the stripper. This helps you see how the masonry reacts and how many layers of paint are actually there. A fireplace might have different stubborn layers than a standard wall, specially if it has thick, heat-resistant coatings from decades ago.
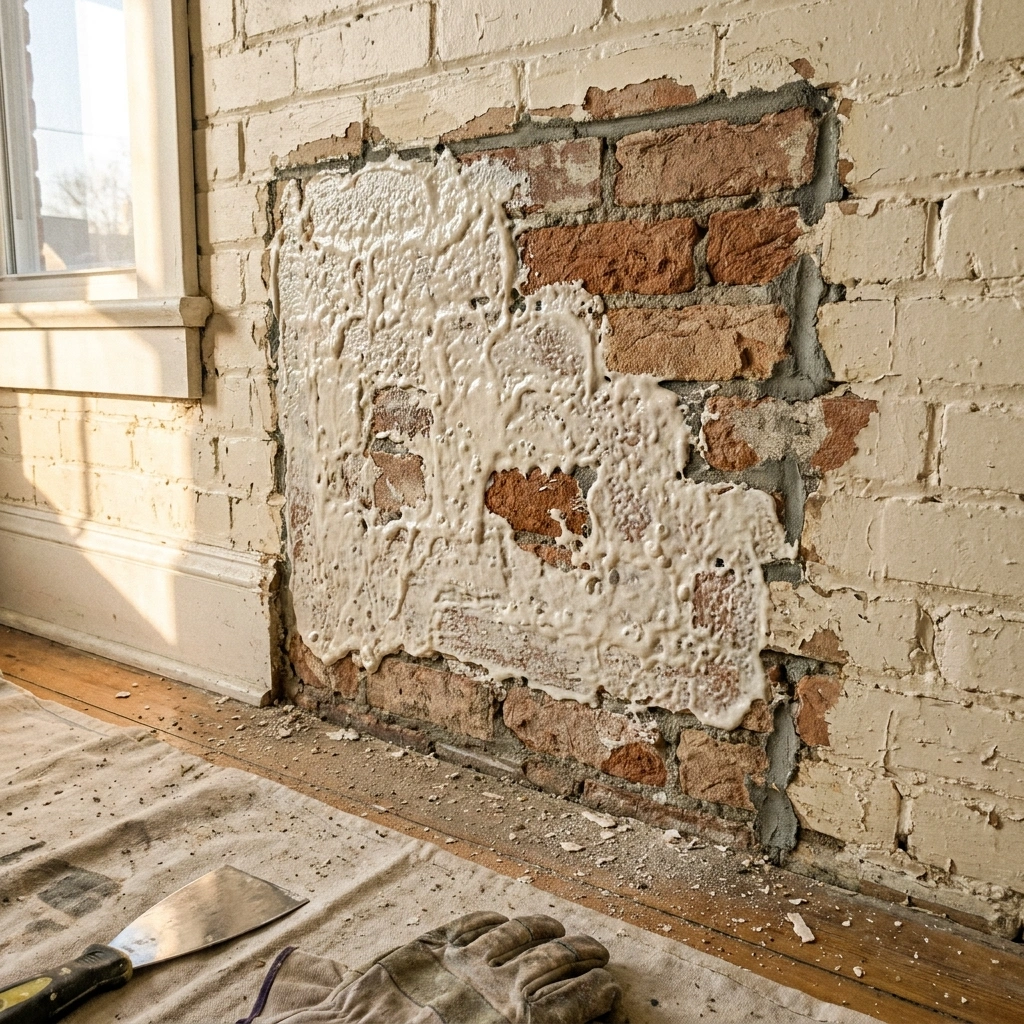
Once the test looks good, apply your paste or gel paint stripper using an old brush. Lay it on thick like frosting! Don’t brush it out thin, or it will dry out before doing its job. Always read product labels carefully for the exact wait times.
Step 4: Gentle Scraping and Peeling
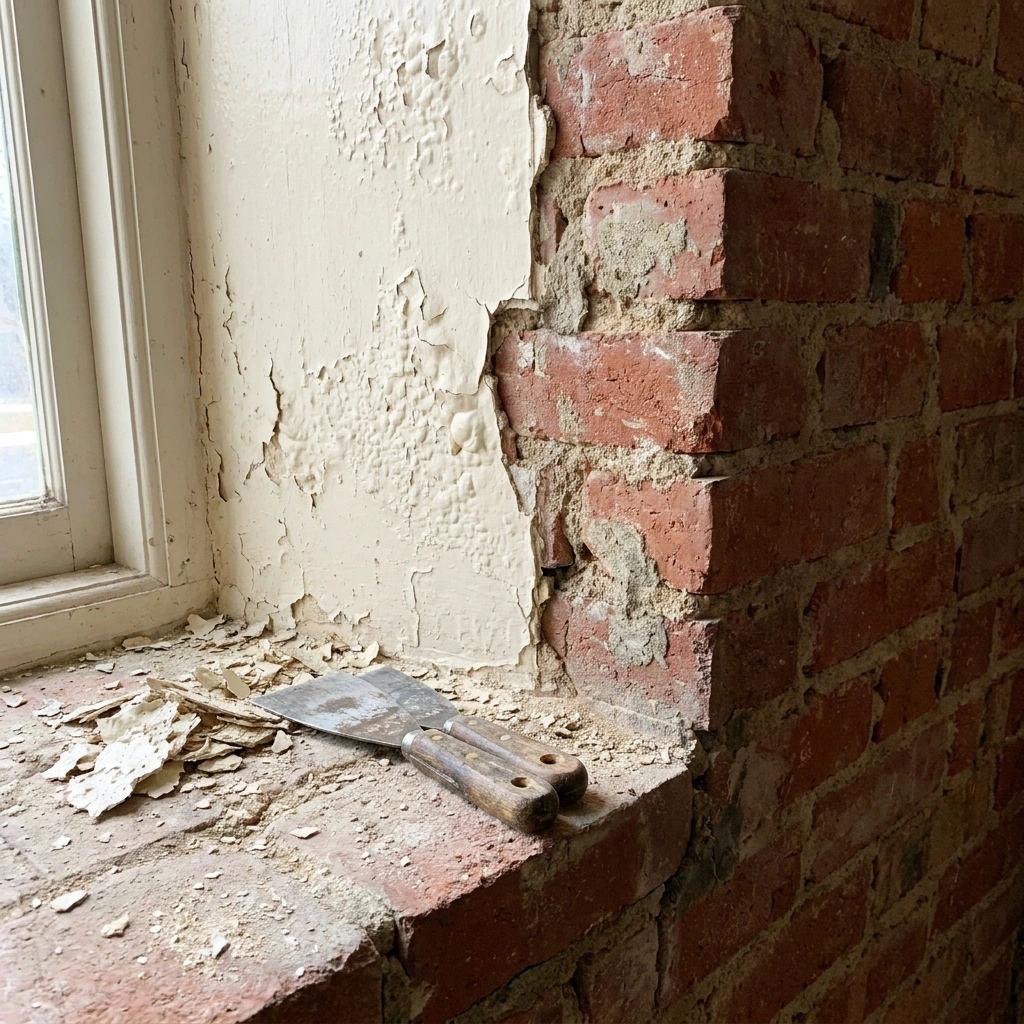
After the stripper has sat for the recommended time, you’ll see the paint start to bubble, wrinkle, and lift. This is the fun part! Grab a plastic or dull metal putty knife and start gently scraping away the gunk.
What should you absolutely avoid? Harsh sanding indoors or using wire wheels. Those aggressive tools will permanently scar the brick’s face and create a massive dust hazard in your home. Work slowly, letting the chemical do the heavy lifting rather than forcing it with muscle.
Step 5: Tackle the Pores, Mortar, and Repeat
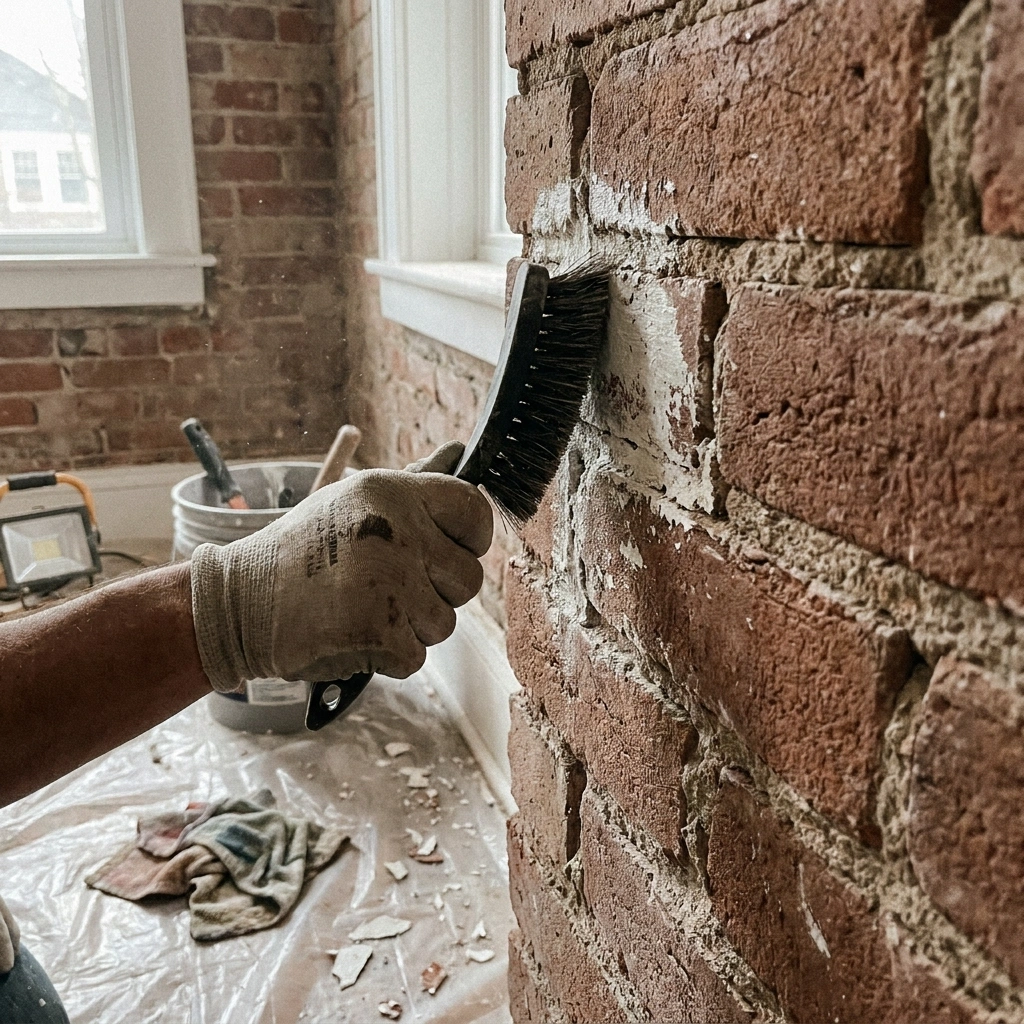
Here is where most painted brick wall removal tips fall short: dealing with the mortar joints and deep pores. Because brick traps paint like a sponge, a scraper won’t get everything. Once the main surface layers are scraped off, you’ll likely have stubborn paint stuck deep in the crevices.
Grab a stiff nylon bristle brush (never wire!) and scrub those difficult spots. You will probably need to apply a second, lighter coat of stripper to fully remove paint from indoor brick wall surfaces perfectly. Don’t rush this stage; patience here is what makes the result look professional rather than patchy.
Step 6: Final Indoor Cleanup and Neutralizing
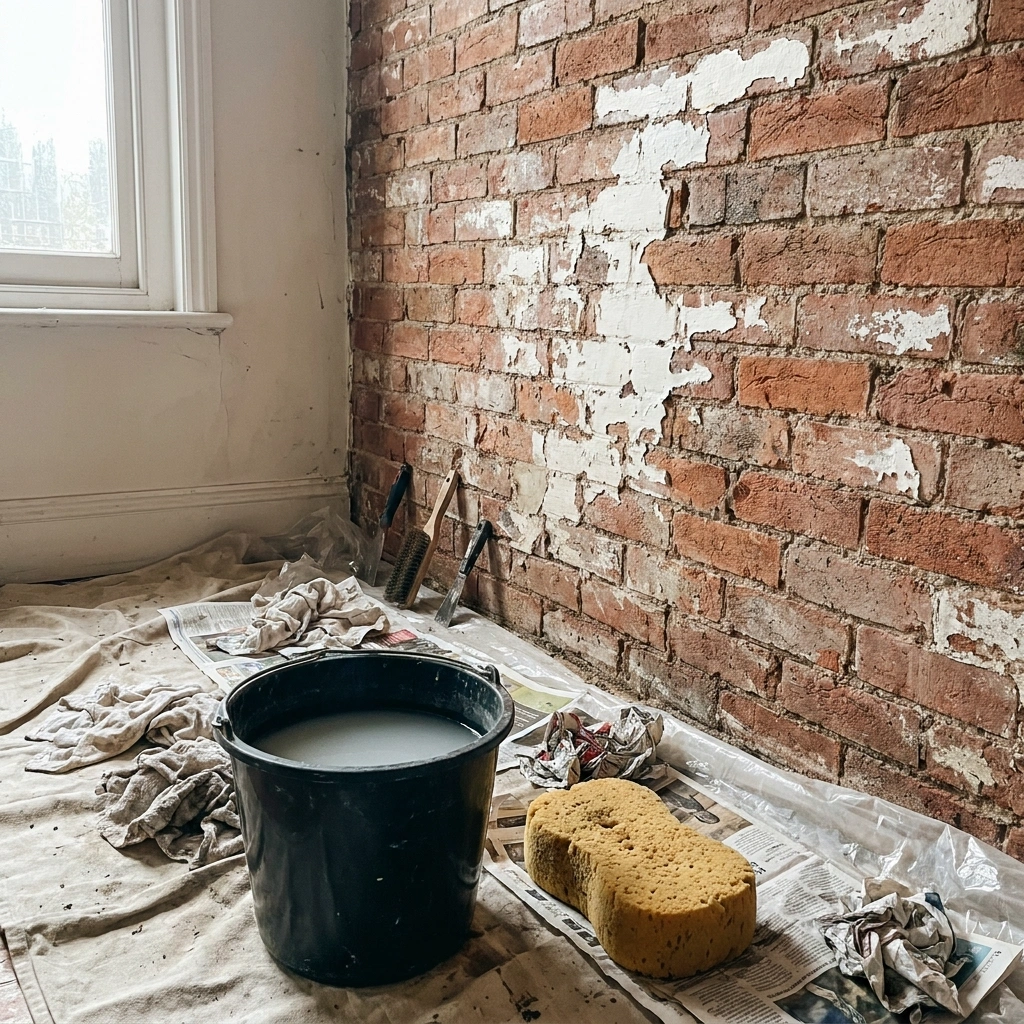
You made it to the final step! But wait, how do you clean brick after paint removal without flooding your living room? Since you obviously can’t power wash indoors, you’ll need a bucket of warm water and a little mild dish soap.
Use a large, heavy-duty sponge to gently wipe down the masonry, neutralizing any leftover stripper and pulling up the last bits of residue. Frequently change your water bucket so you aren’t just pushing chemical sludge back into the brick. Carefully roll up your floor coverings, trap all the peeled paint chunks inside, and toss them out.
Conclusion
Wrapping up a DIY brick wall restoration is undeniably hard work, but the payoff is incredible. Uncovering that natural, earthy texture can completely shift the vibe of a room, taking it from cold and dated to warm, historic, and incredibly cozy. Exposed brick adds a unique architectural character that plain drywall simply can’t replicate.
While stripping paint from an indoor space requires some elbow grease, careful planning, and a lot of drop cloths, doing it methodically ensures you won’t ruin your floors or damage the masonry. Take your time, focus on keeping the area contained, and soon enough, you’ll be kicking back, admiring a beautiful brick feature that anchors your home.