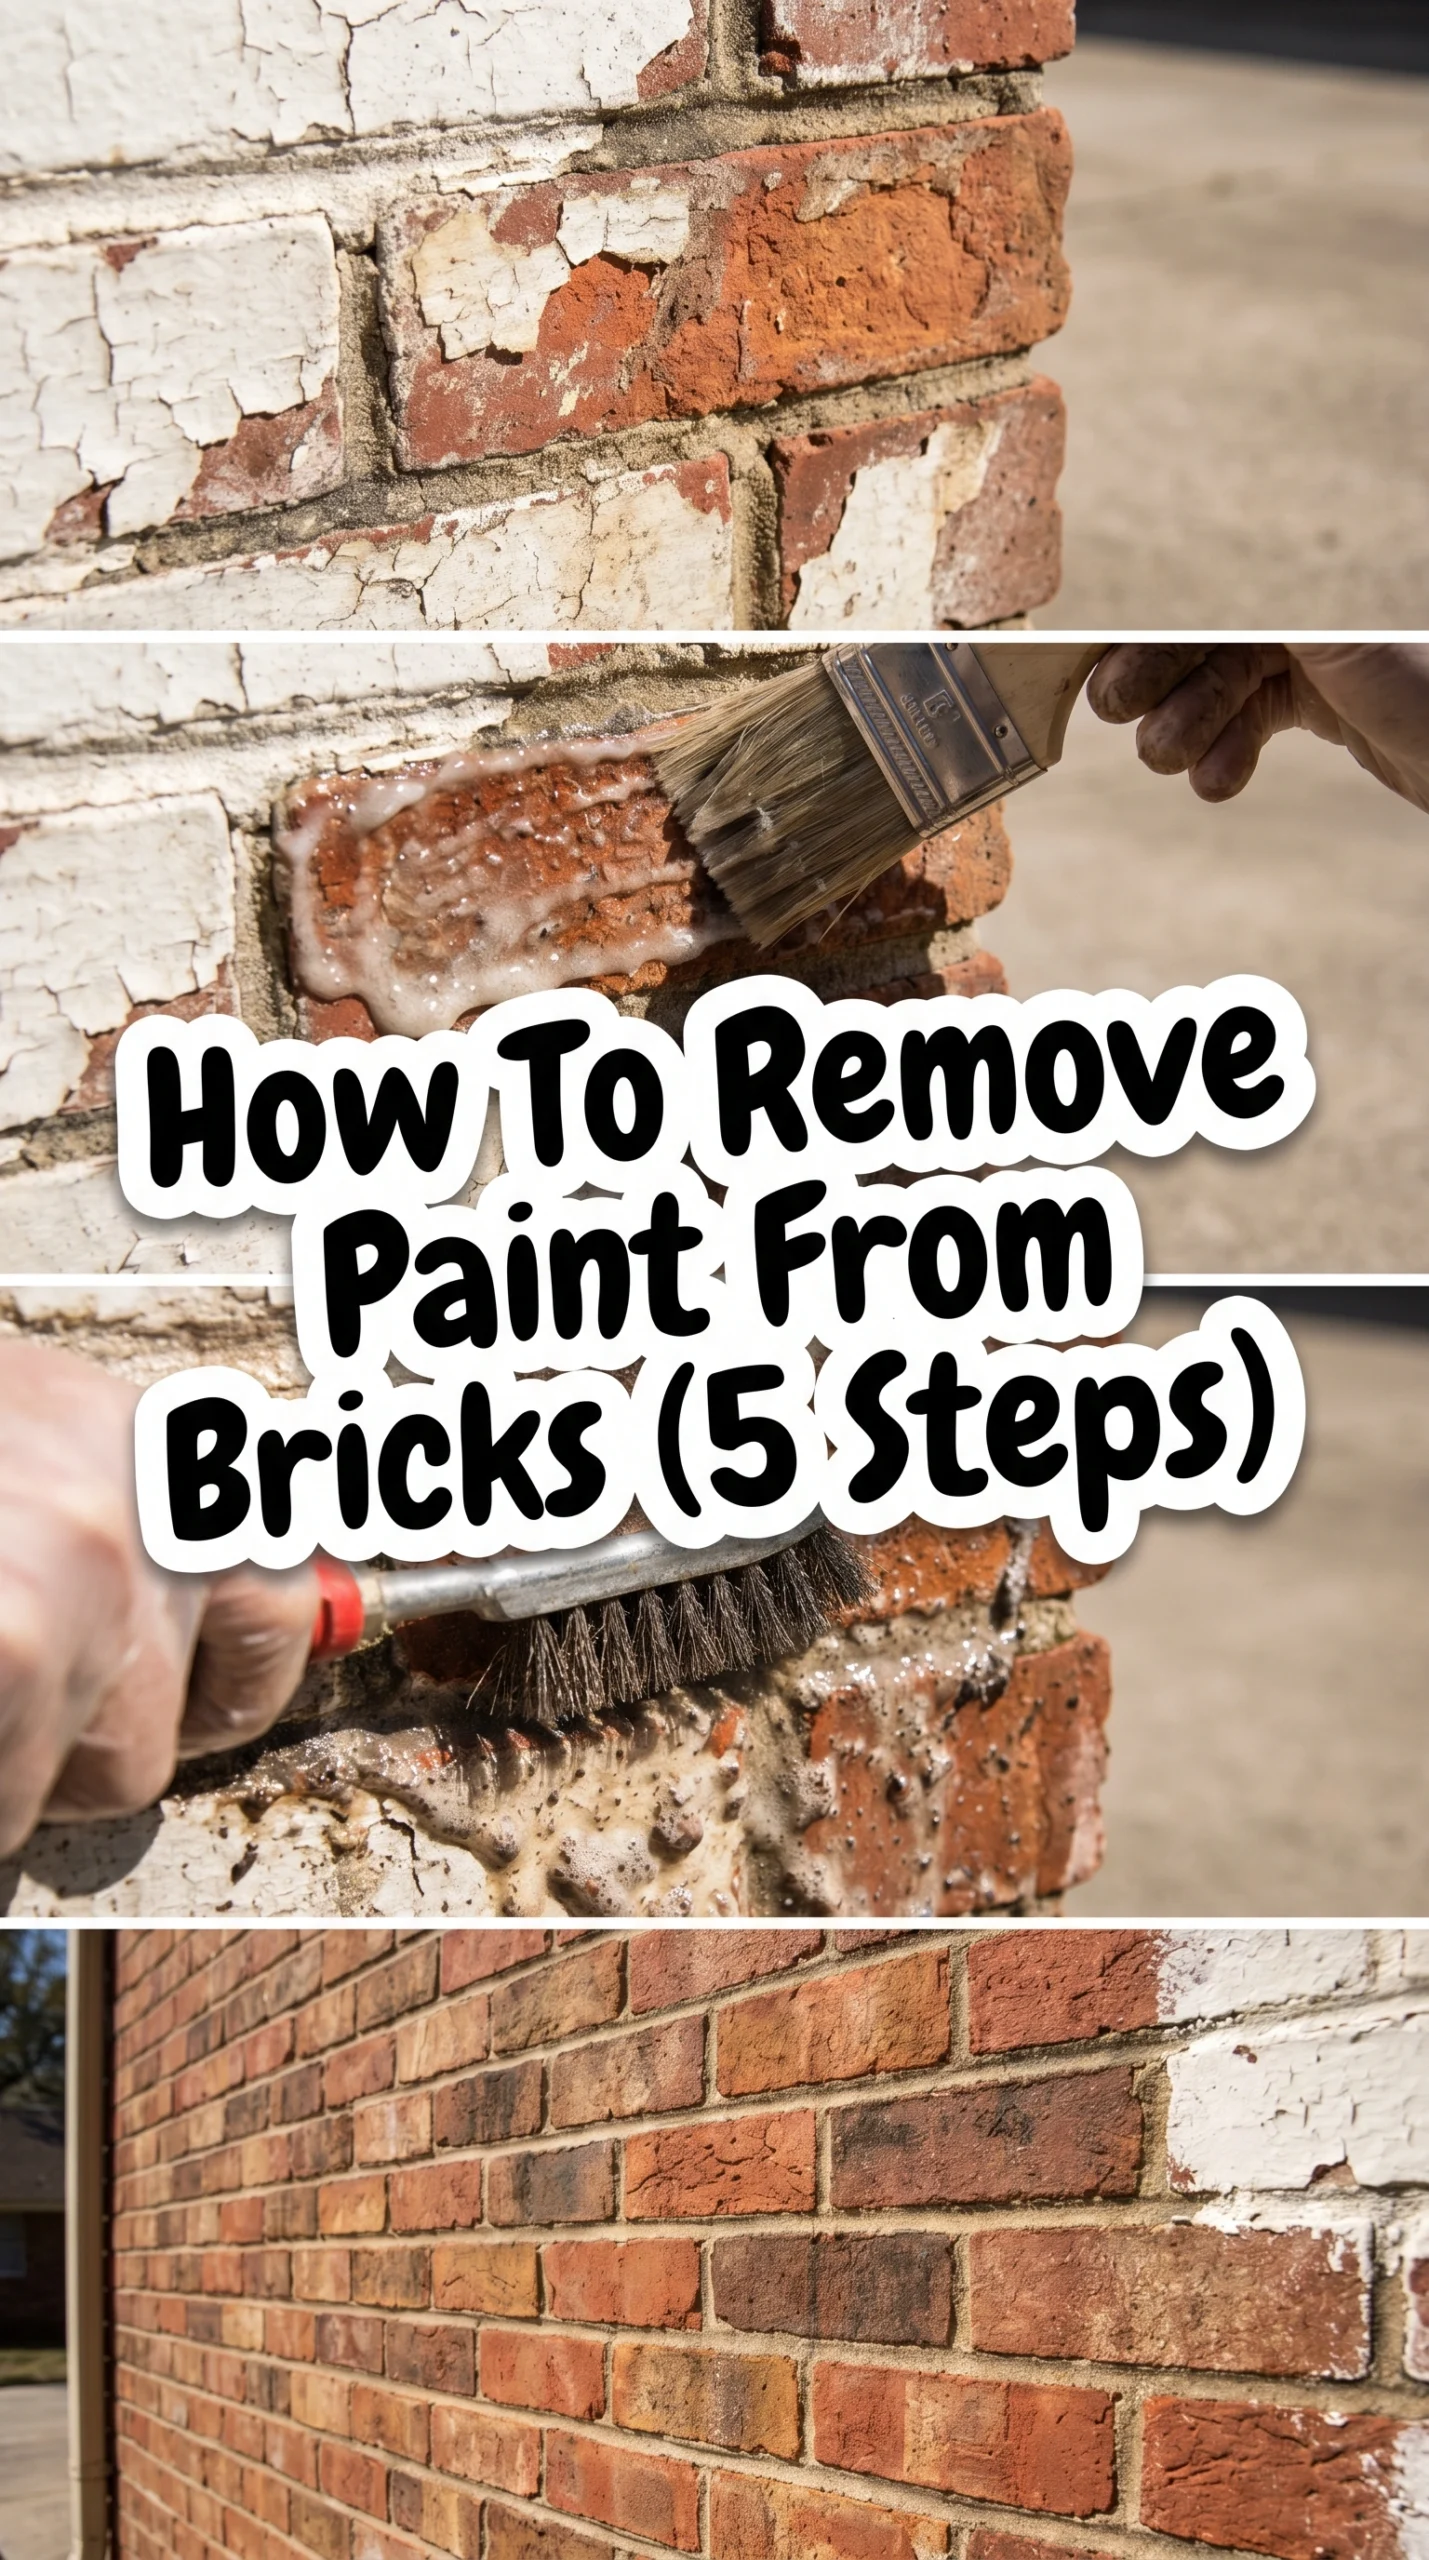
Have you ever looked at a painted brick wall and wondered what’s hiding underneath? Maybe it’s a mid-century modern fireplace or an exterior wall begging for some character. Figuring out how to remove paint from bricks can feel pretty intimidating, especially since brick is so porous and grabs onto paint like its life depends on it.
You don’t want to accidentally destroy that beautiful masonry you’re trying to save! It takes a bit of elbow grease and the right approach to restore natural brick surface without causing irreversible damage. Grab your work gloves, because we’re going to walk through this messy but incredibly rewarding DIY project together.
Step 1: Prep Your Space and Test the Waters
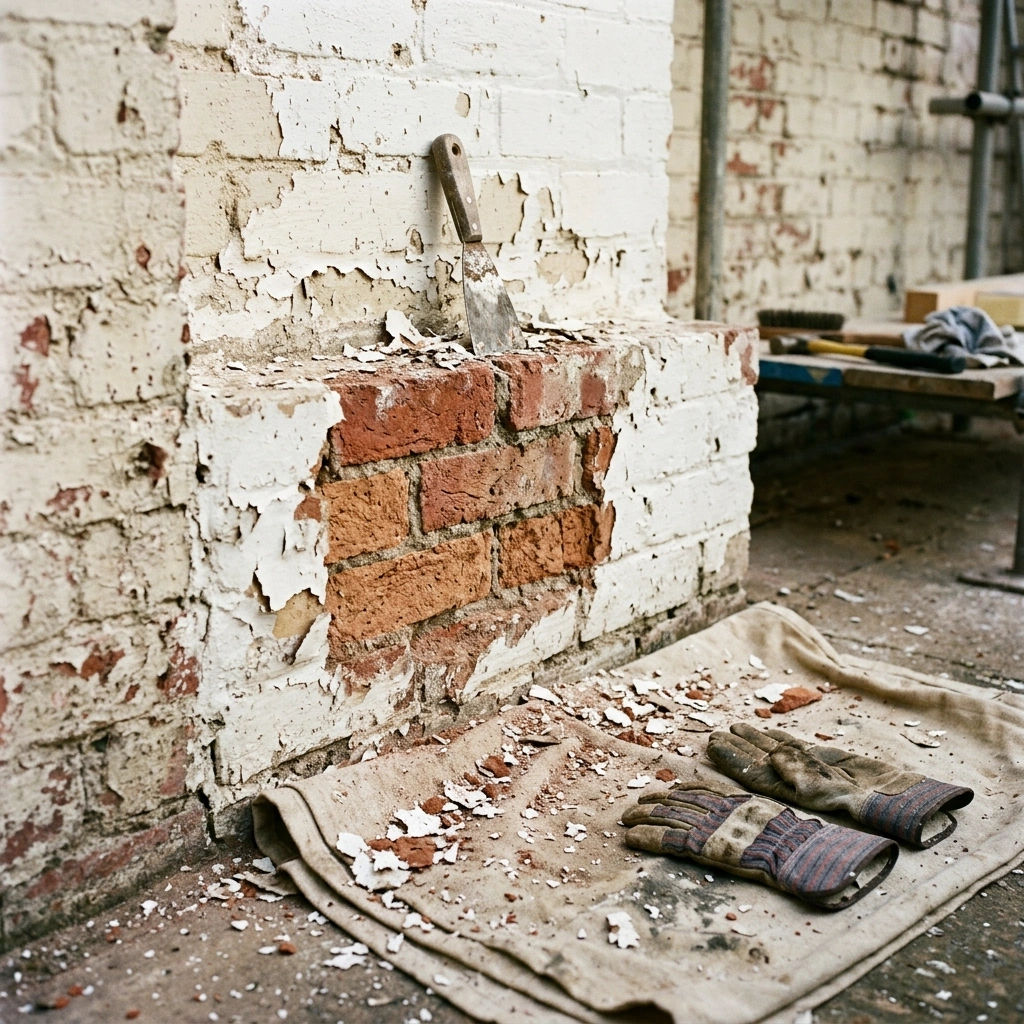
First things first, we need to prep the space. Are you working inside or outside? Indoor projects require massive ventilation, so open those windows wide. When stripping paint from brick fireplace, its important to lay down drop cloths and wear serious protective gear—think thick gloves, eye protection, and a good mask, especially since old paint might contain lead. Give the wall a good dry brushing to remove loose dust and cobwebs. Before you go all in, always test your masonry-safe paint stripper on a tiny, hidden spot. This lets you see how the brick reacts and how thick the layers really are.
Step 2: Apply the Stripper Like You Mean It
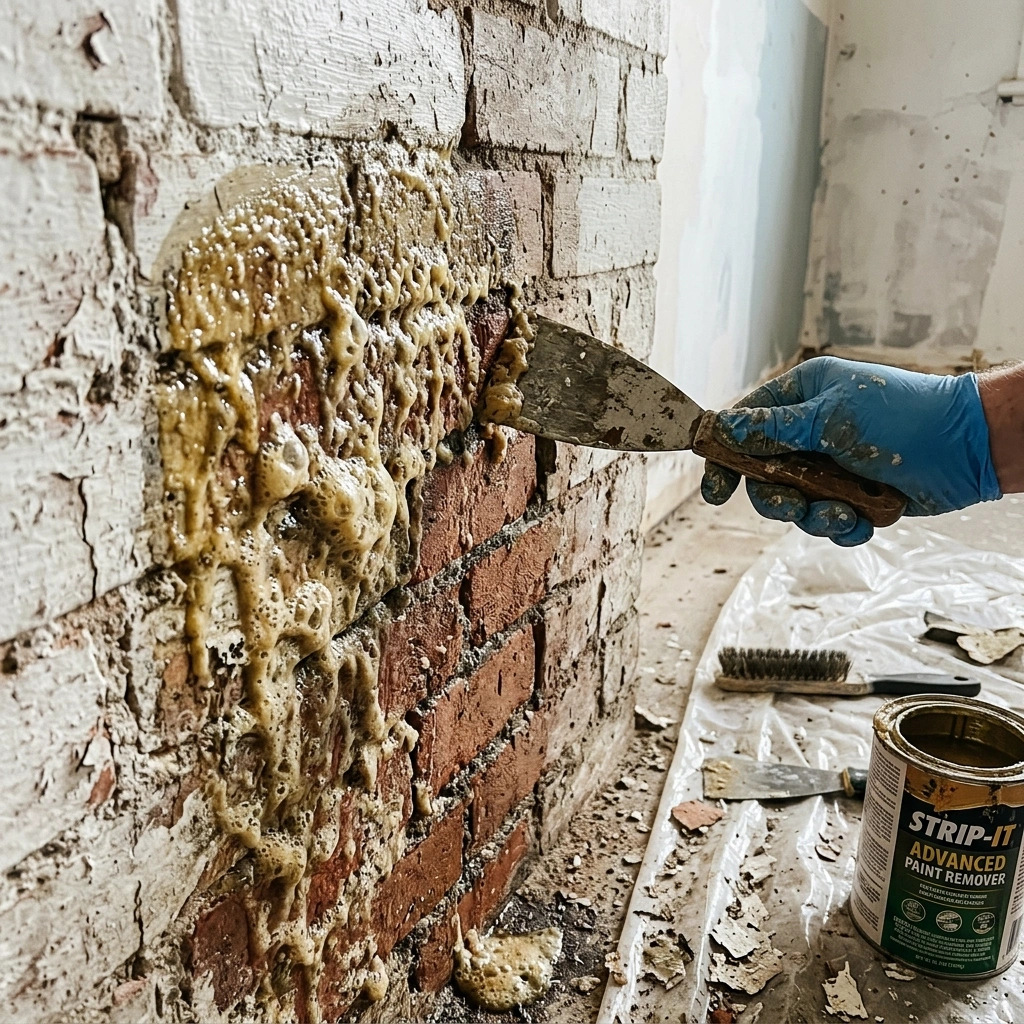
Now for the messy part. You’ll want to use a heavy-duty, masonry-safe paint stripper. Don’t skimp on this stuff! Slather it on thick like frosting using an old, cheap brush. If your dealing with older bricks, you have to be extra gentle because they are much softer than modern brick surfaces. Older mortar can easily crumble if you look at it wrong. Let the chemical do the hard work for you. Give it plenty of time to bubble and lift the paint according to the manufacturer’s instructions. Patience is definitely your best friend right now.
Step 3: Scrape and Scrub (The Right Way)
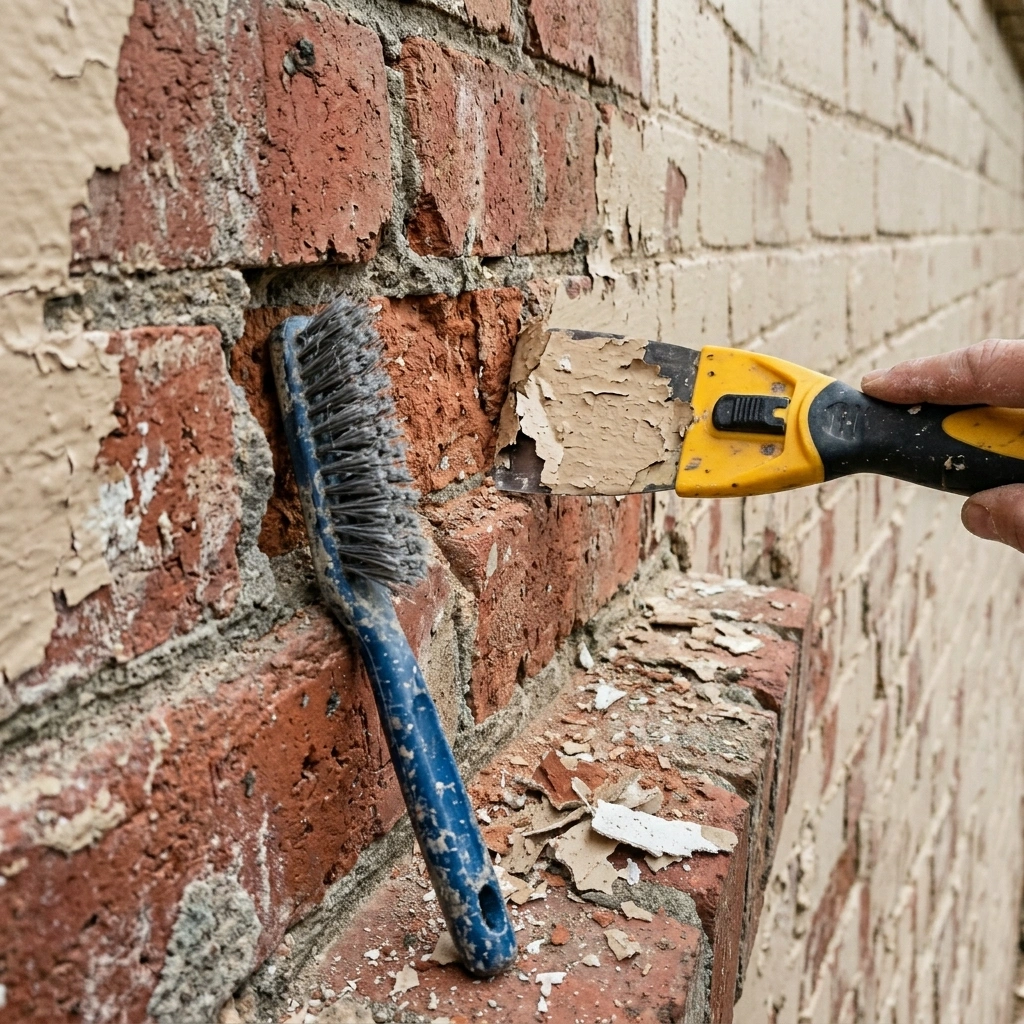
Once the paint looks all wrinkled and gooey, grab a plastic or wooden scraper to gently lift it away. What shouldn’t you do? Never use sharp metal tools that scratch the brick faces, and absolutely avoid high-pressure washing on weak mortar unless you want to blow holes in your wall. Scrape off the heavy layers first. Once the bulk of it is off, use a stiff bristle brush (nylon, not wire!) to gently scrub the remaining gunk out of the crevices. This is where you really start to see the DIY brick restoration coming to life!
Step 4: Rinse, Reapply, and Clean Up
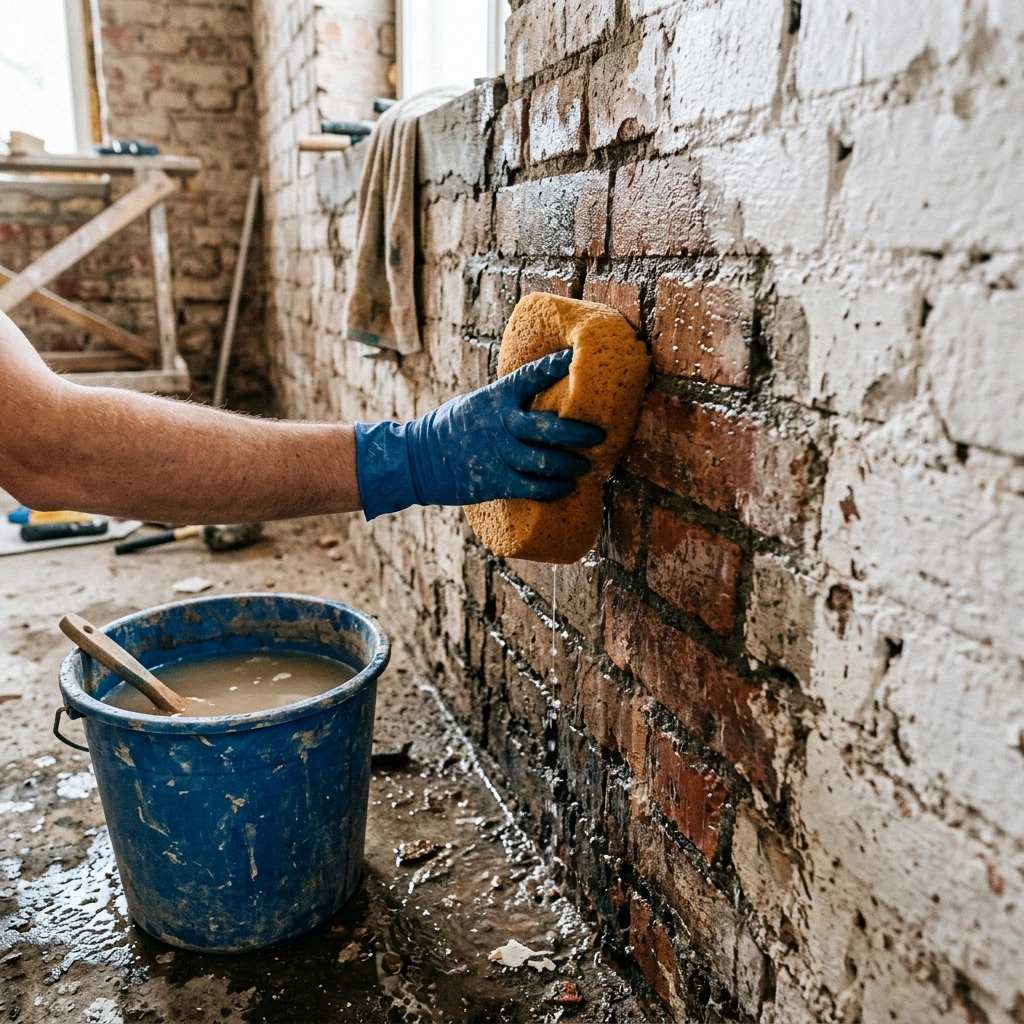
Brick is notoriously porous, so one round of stripper rarely gets the job done entirely. You’ll probably need to apply a second, lighter coat to catch the stubborn bits. Sometimes the paint just don’t want to come off the first time around. After you’ve scraped and scrubbed the last of it, it’s time for brick cleaning after paint removal. Wash the wall down thoroughly with warm water and a mild detergent to neutralize the stripper. This crucial step stops the chemicals from continuing to eat away at the masonry and preps the surface for drying.
Step 5: Troubleshoot the Stubborn Leftovers
Even after a good wash, you might find tiny flecks of color clinging desperately to the deep pores of the brick. Don’t panic! For these stubborn paint spots, you can use a small detailing brush or an old toothbrush dipped in a tiny bit more stripper. Resist the urge to grab random harsh chemicals to speed things up, as they can permanently stain the brick. Just work methodically. You were looking for painted brick removal tips that actually work, right? It just takes a little precision work at the very end to get that perfect finish.
Final Thoughts
Peeling away decades of old paint is undeniably messy and requires a serious dose of patience, but uncovering that raw, historic texture is incredibly rewarding. Every brick has its own unique color variations, minor chips, and natural flaws that bring immense warmth and character to a room or home exterior. By taking your time, using a reliable masonry paint stripping guide, and avoiding aggressive shortcuts, you preserve the structural integrity of the wall while bringing its original beauty back to life. It might take up your entire weekend, but that authentic, rugged charm you’re left with is absolutely worth every single scraped knuckle and drop of sweat!