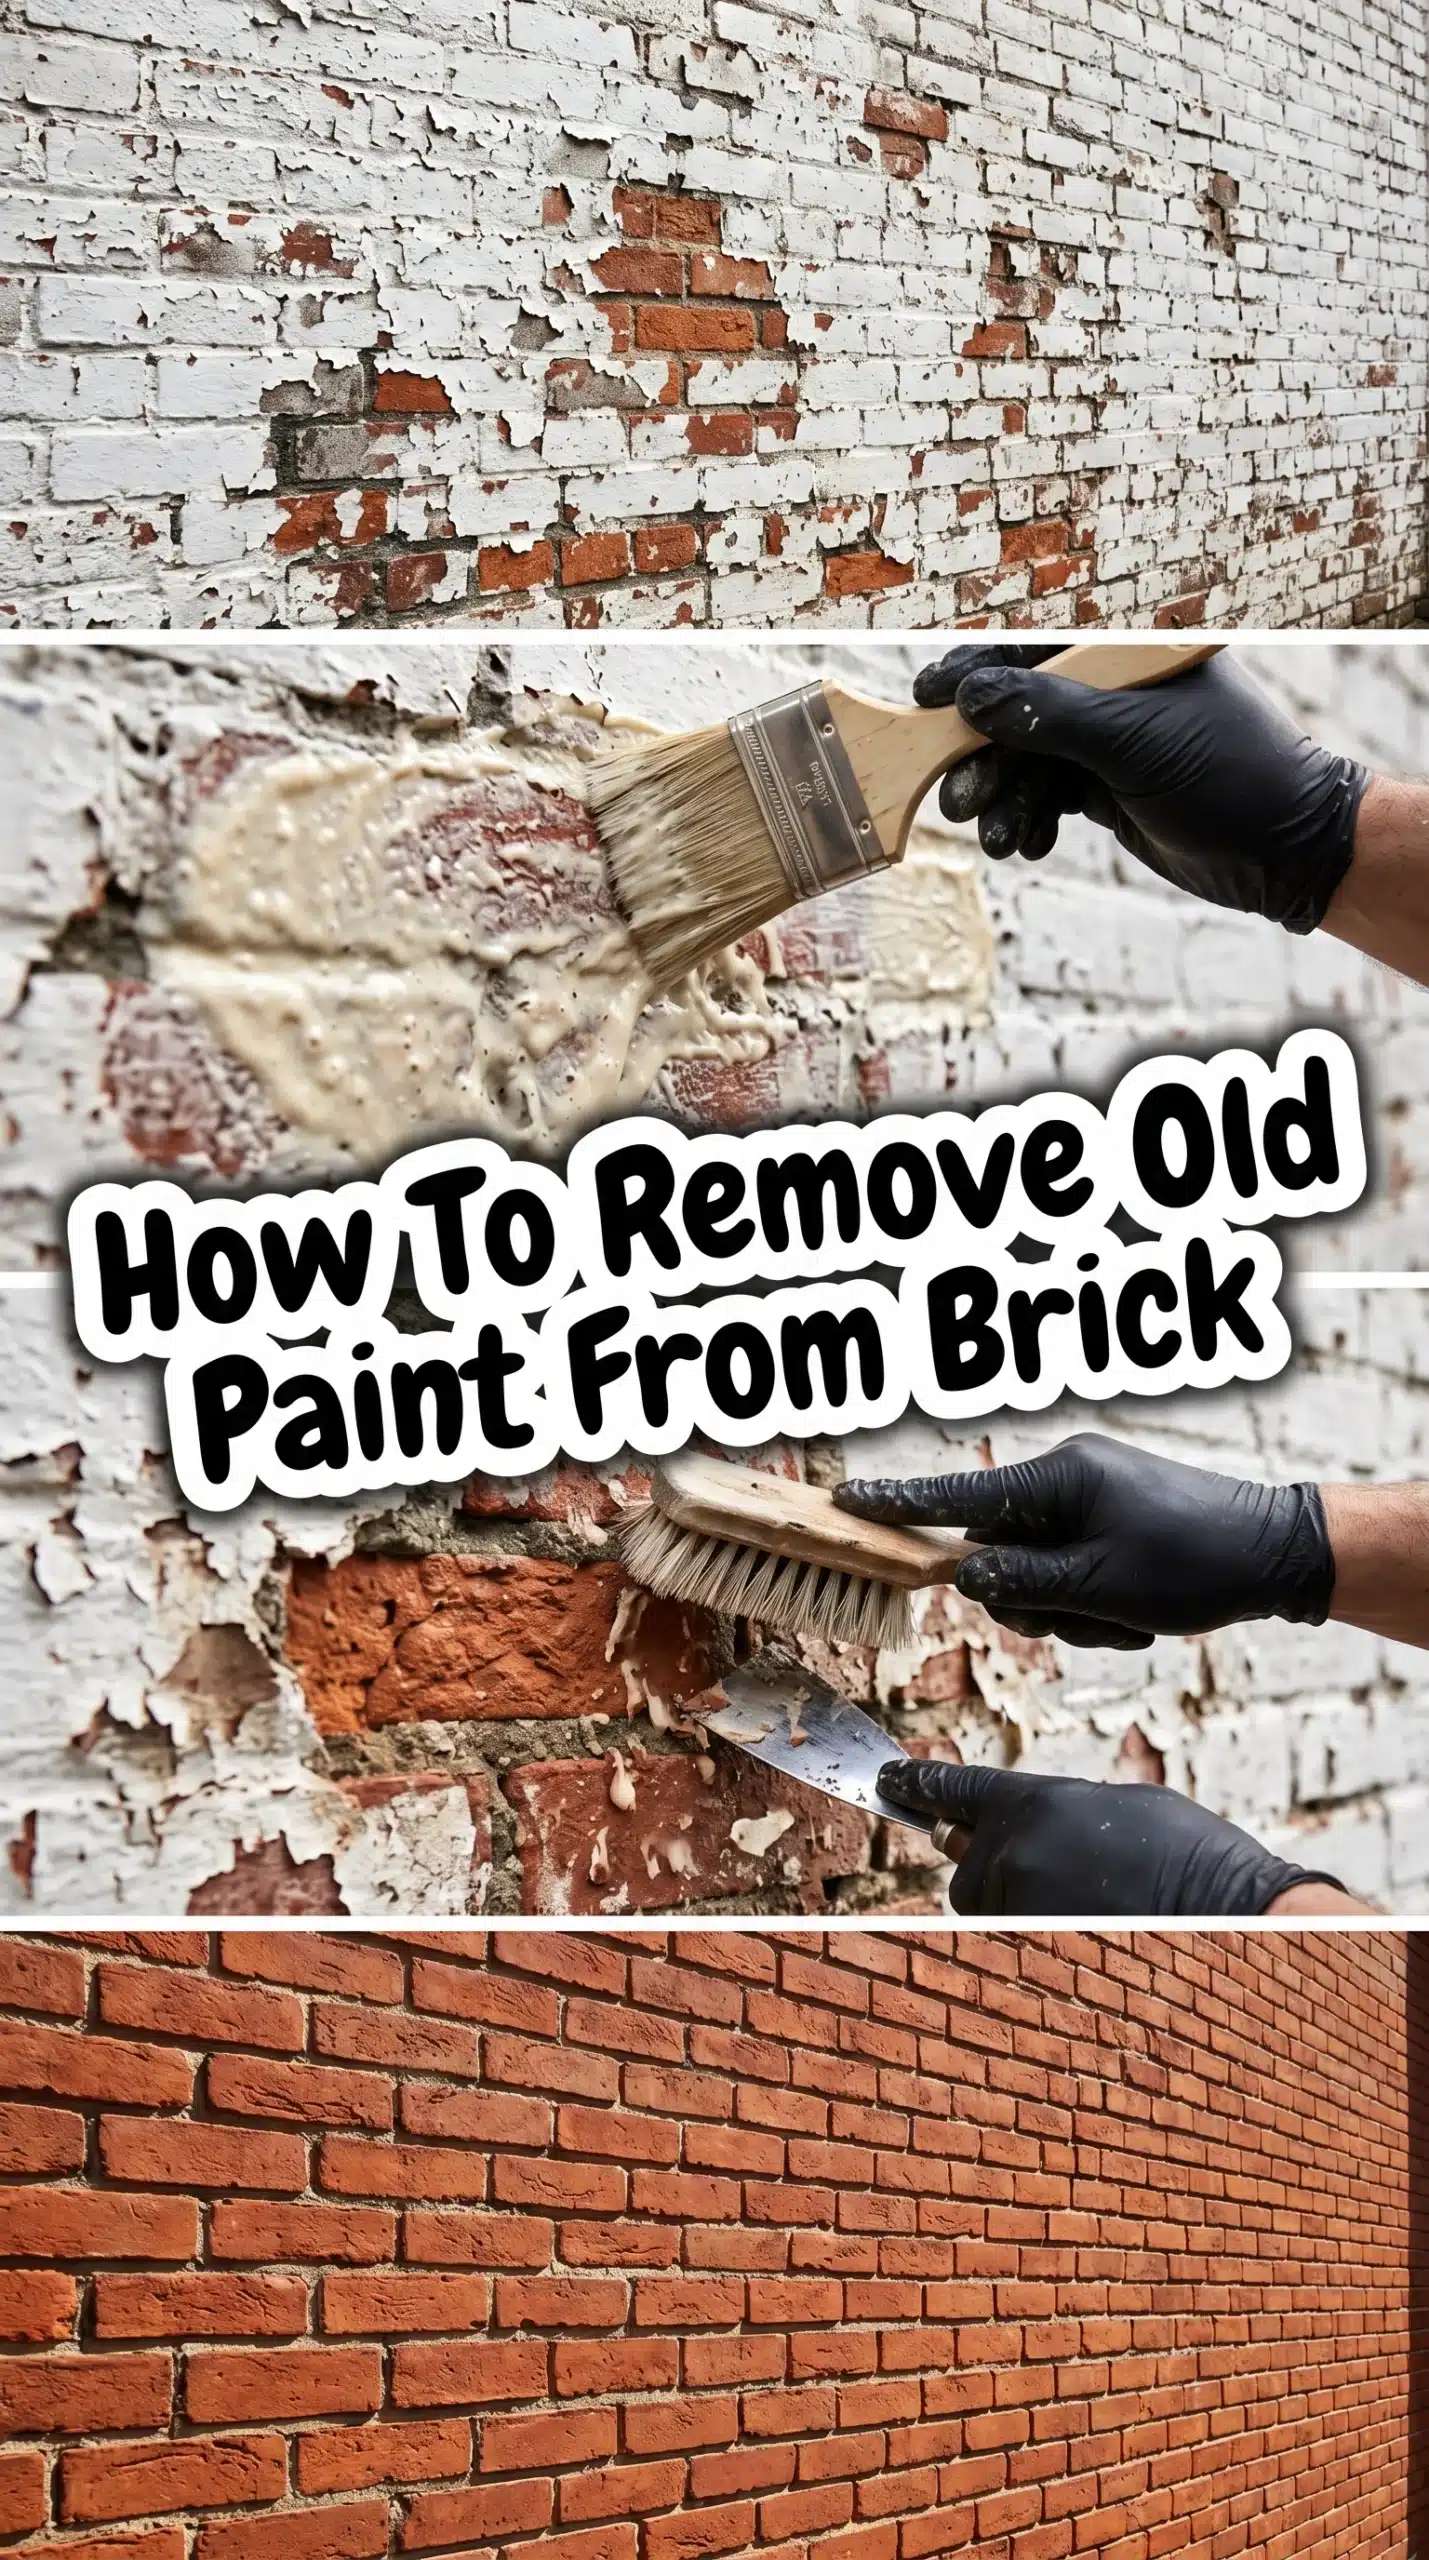
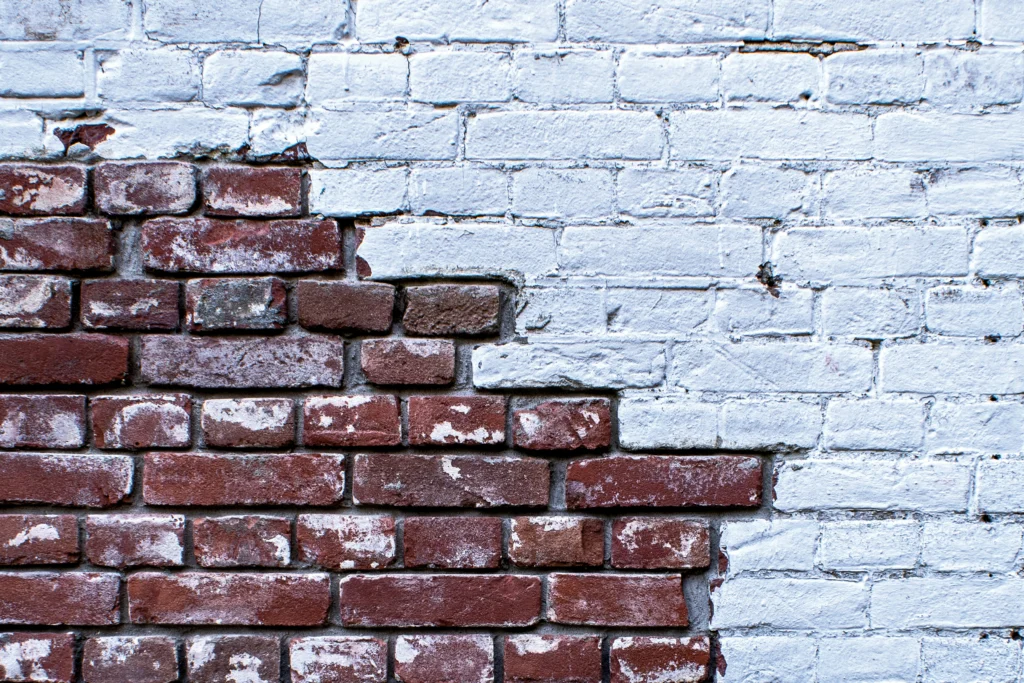
Figuring out how to remove old paint from brick can feel like a massive puzzle. You see that beautiful, textured masonry hiding beneath ugly coats of white or gray, and you just want it back. But old brick is surprisingly delicate! The layers of paint is actually pretty stubborn, especially if it’s been baked on for decades. If you rush in with heavy tools, you risk crumbling the mortar and scarring the face of the bricks forever.
So, how do you do it safely? It takes patience, the right approach, and a lot less brute force than you’d think. Let’s dig into the best ways to restore your masonry.
Step 1: Prep, Protect, and Test (The “Don’t Skip This” Phase)
Before you dive into stripping layers of paint from brick, you need to set the stage. First, inspect your mortar. If it’s crumbling when you poke it with a fingernail, you’ll need to be extra gentle. Sweep away loose dirt and cobwebs. Lay down heavy-duty drop cloths to protect your floors (if indoors) or landscaping (if outdoors). Safety is a big deal here.
Wear thick rubber gloves, safety goggles, and ensure good ventilation. Remember, old masonry paint removal often means dealing with lead paint, so handle unknown layers with extreme care. Finally, pick a hidden spot and test your stripper to make sure it doesn’t discolor the natural clay.
Step 2: Slathering on a Masonry-Safe Paint Stripper
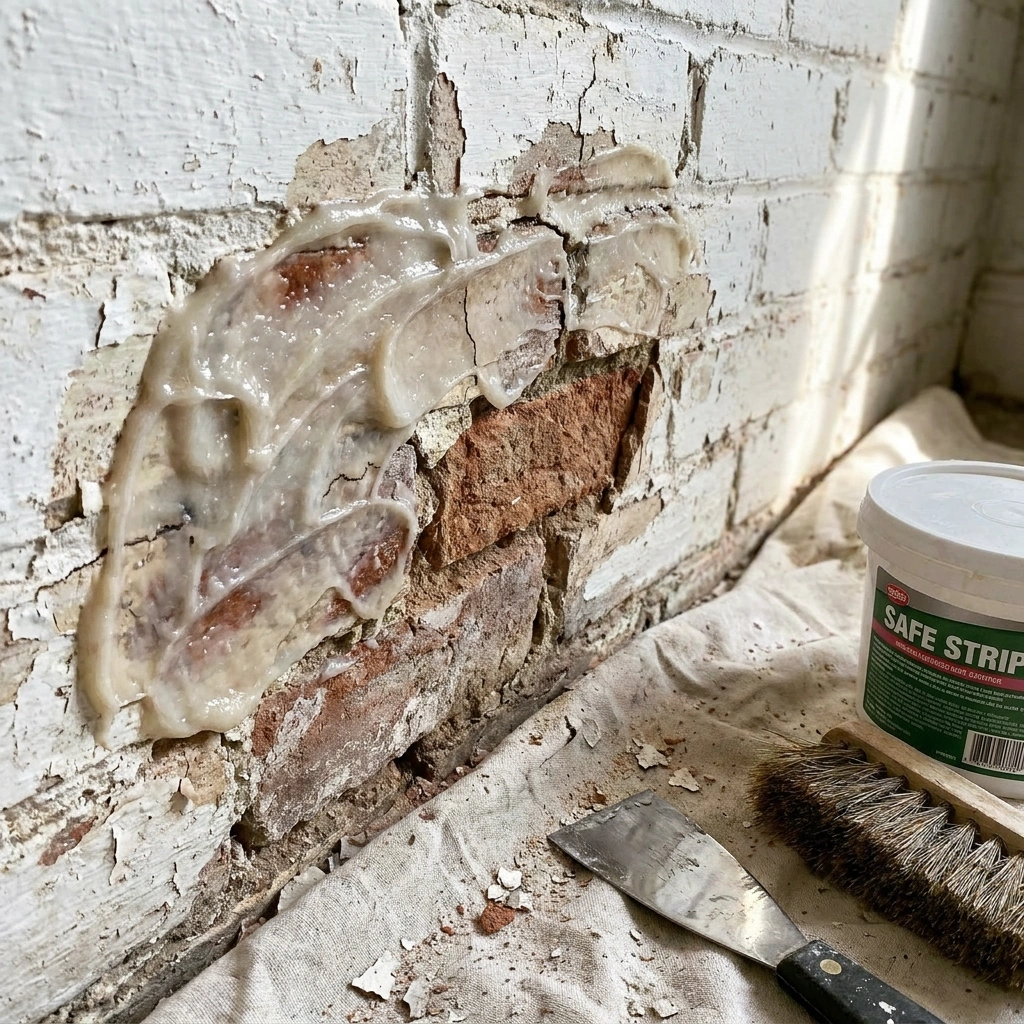
Not all chemical strippers are created equal. You need a gel or paste-based stripper specifically formulated for masonry. Antique brick from the 1800s is much softer than newer brick fired in modern kilns, meaning harsh, fast-acting liquid solvents can actually eat into the old clay.
Apply the stripper thickly with an old paintbrush. A lot of people makes the mistake of brushing it out too thin. You want it caked on like thick frosting! For painted vintage brick restoration, paste systems that come with a fabric backing you smooth over the top work wonders, as they trap the moisture and keep the chemicals wet longer.
Step 3: The Waiting Game
Now? You wait. Seriously, walk away and grab a coffee. Old paint is incredibly hard to remove because it has essentially bonded with the porous surface of the brick over decades. If you try to scrape it off after 20 minutes, you’ll just make a gooey, smeared mess.
Depending on the product and how many layers you’re fighting, it might need to sit anywhere from 3 to 24 hours. Check your test patch occasionally. When the paint looks bubbled, deeply wrinkled, or feels like loose putty, it’s finally ready.
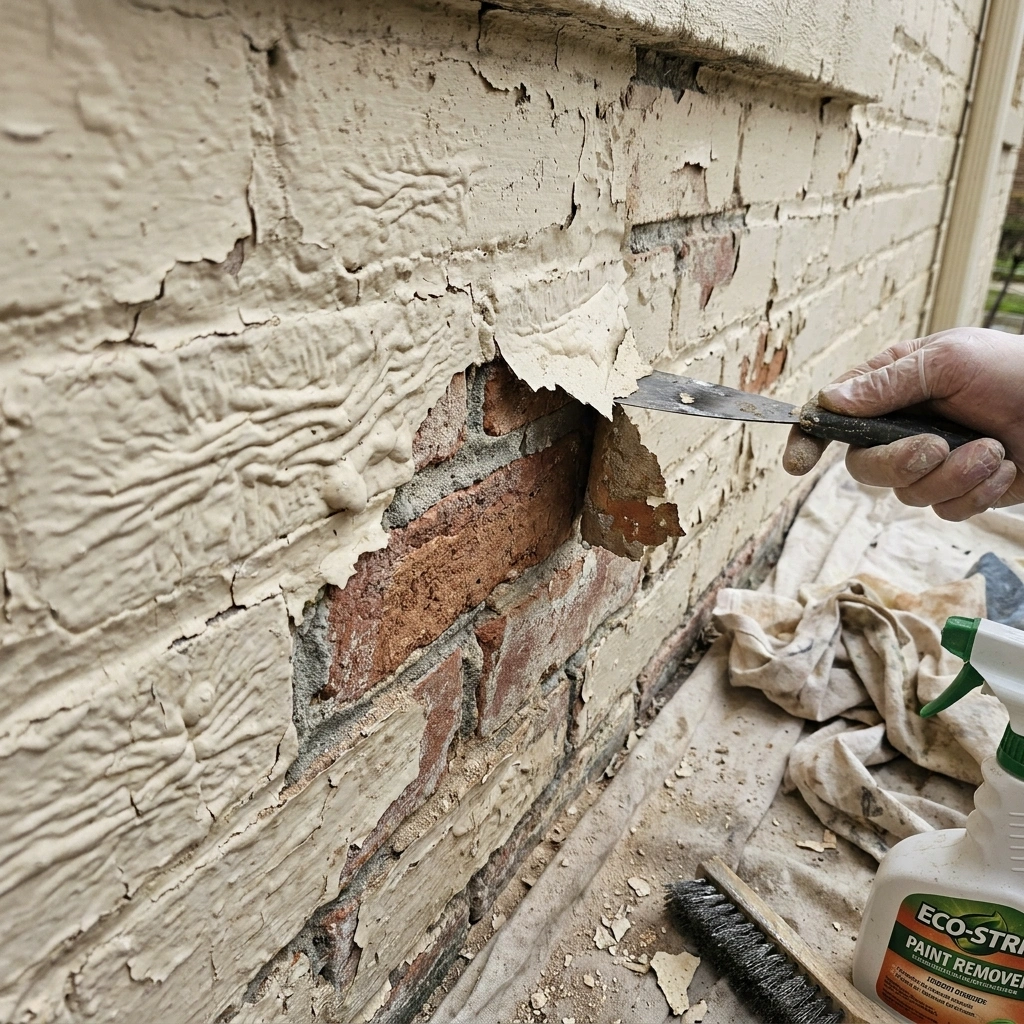
Step 4: Gentle Scraping and Brushing
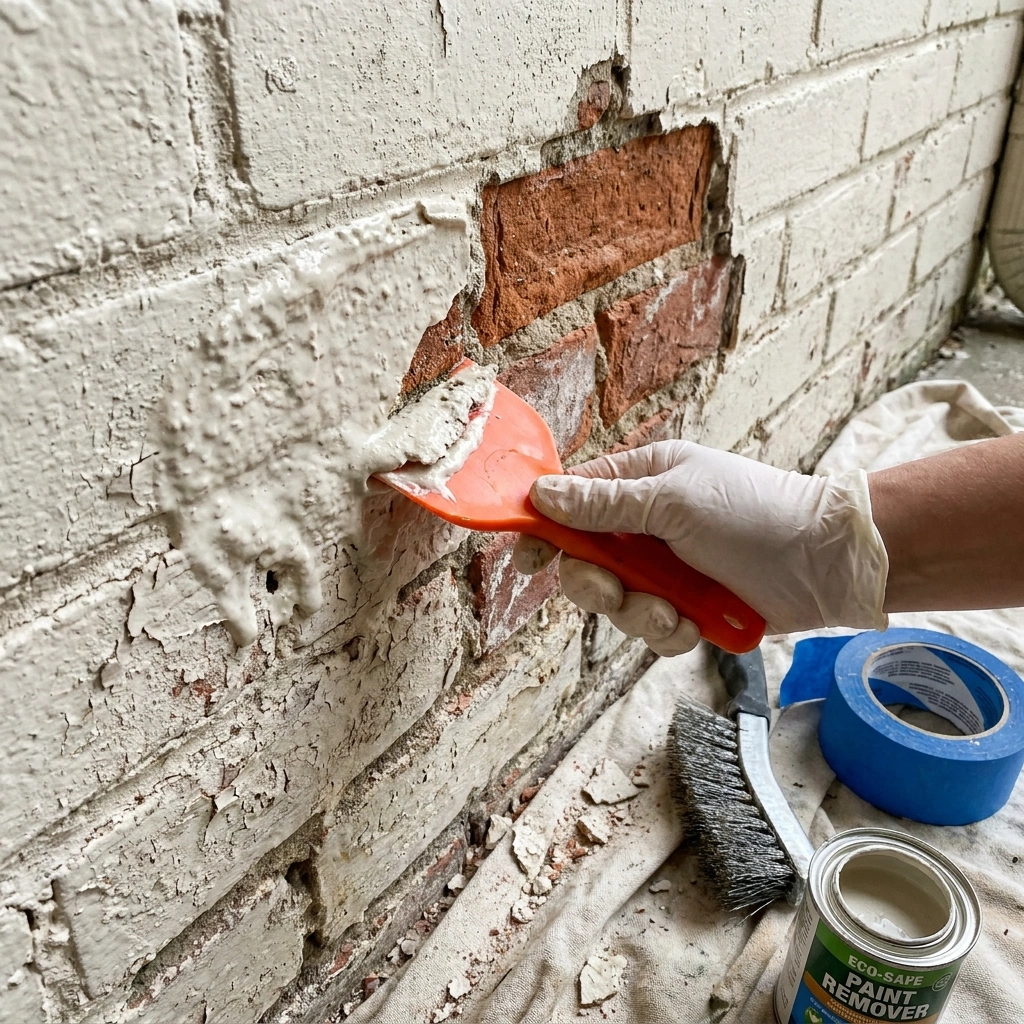
Here comes the fun part. Grab a plastic or wooden putty knife to lift the sludge. Never use metal putty knives, which can gouge the soft brick face. Gently scrape off the bulk of the wet paint. To get into the nooks, crannies, and mortar lines, scrub with a stiff nylon or natural bristle brush.
If you’re following a DIY brick restoration guide for an indoor fireplace, keep a bucket of warm water nearby to constantly rinse your brush. If you’re tackling an outdoor wall, you can be slightly more liberal with a garden hose for rinsing, but keep the water pressure very low.
Step 5: Troubleshooting Deep Layers & Porous Pockets
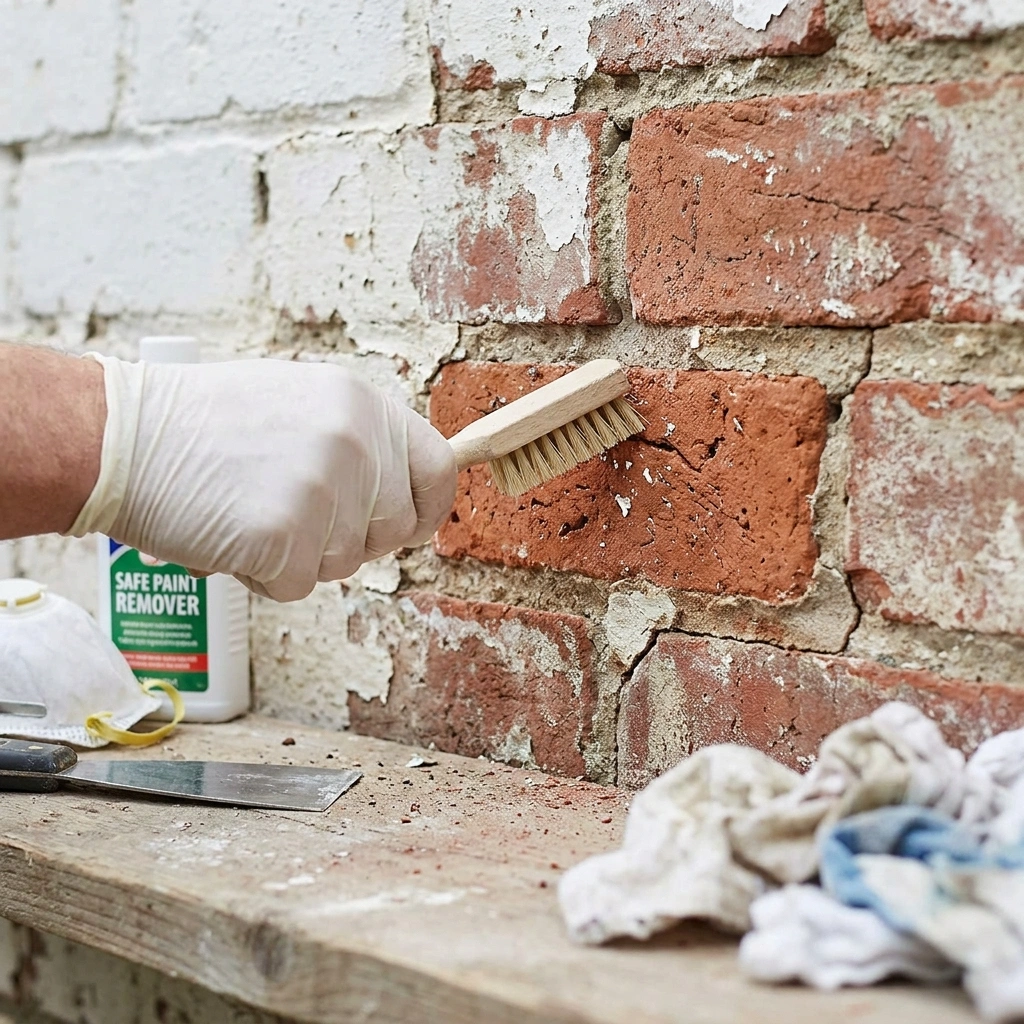
Did the first pass leave a bunch of pigment stuck deep in the brick’s texture? That’s totally normal. Historic brick is basically a hard sponge, and paint loves to hide in those tiny pits. Don’t panic and reach for a harsher tool.
Instead, simply apply a second, lighter coat of stripper to those stubborn spots. Scrubbing in tiny circular motions with a smaller detailing brush can help lift out that trapped paint. Sometime it takes three full rounds to properly restore aged brick surface, so just stick with it.
Step 6: Cleanup and Letting It Breathe
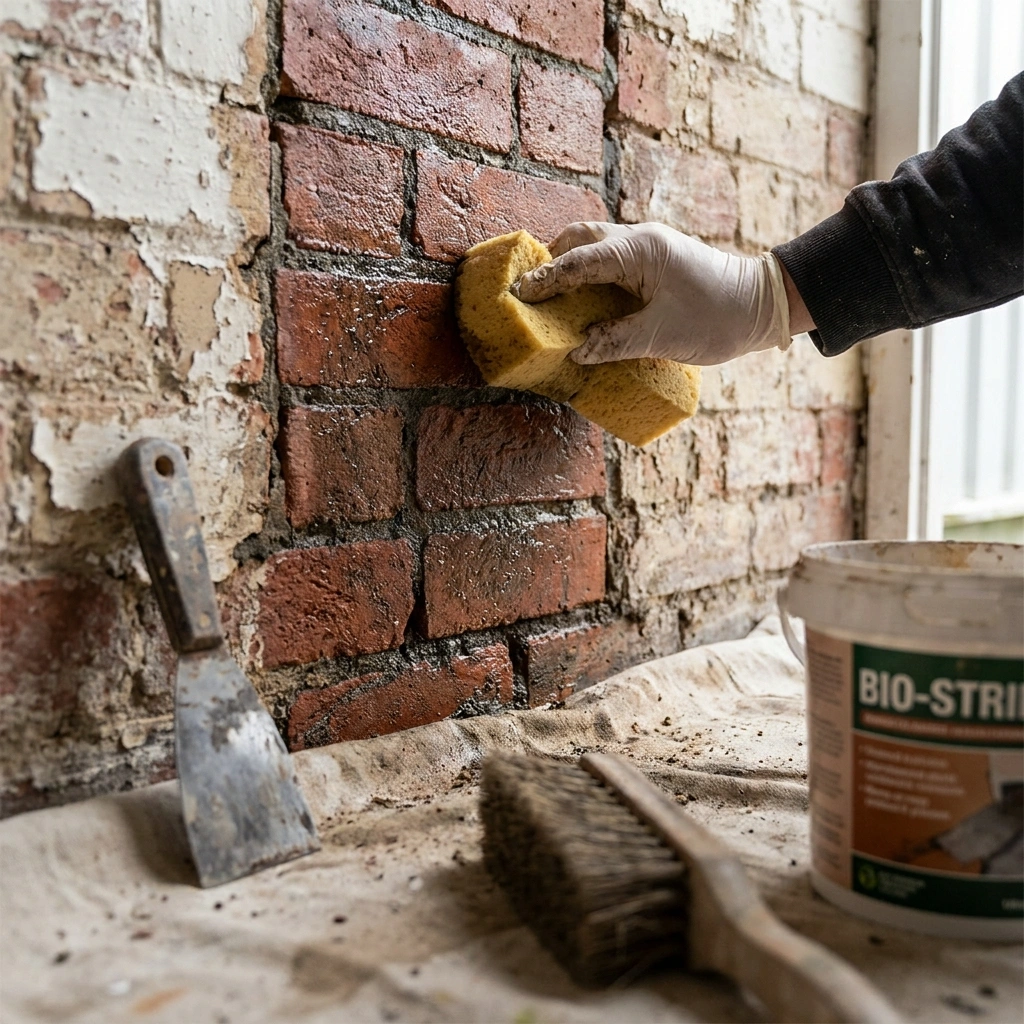
Once you finally remove old paint from brick wall sections completely, you need to clean historic brick after paint removal to stop the chemical reaction. Check your stripper’s instructions; some require a specific neutralizer spray, while others just need a thorough wipe-down with clean water and a heavy-duty sponge.
Indoors, use a sponge and a bucket, changing the dirty water frequently. Then, let the brick dry completely. Give it at least a few days to breathe and dry out before assessing if any of the old mortar needs pointing or repairing.
What NOT to Do (The Brick Destroyers)
- No wire wheels or sandblasting: Harsh blasting and metal grinders will violently destroy the “fire skin” (the protective, baked outer layer) of old brick, causing it to deteriorate and crumble rapidly over time.
- Put down the pressure washer: Blasting away at soft, antique mortar with a high-PSI pressure washer will literally blow out your joints and force water directly into your home’s walls.
- Avoid random household chemicals: Muriatic acid is for cleaning raw, unpainted masonry of efflorescence—it is not a paint stripper. Stick to dedicated gels.
- Don’t rush old surfaces: Aggressively digging at stubborn paint chips because you’re losing patience will leave permanent gouges.
Final Thoughts
Revealing the hidden face of vintage masonry is about so much more than just a cosmetic update. Old brick carries a raw, tactile history that perfectly smooth modern finishes simply cannot replicate. Those little chips, varying clay tones, and imperfect mortar lines tell a story of craftsmanship from a completely different era. When you uncover that original texture, you instantly bring warmth, character, and an authentic architectural soul back to your space.
While the process definitely demands elbow grease and a good deal of patience, bringing an original masonry wall back to life is undoubtedly one of the most rewarding home restoration upgrades you can tackle.