You pull out your backyard chairs for the first barbecue of the season, only to realize they look like dusty, chalky ghosts. Sound familiar? Sun-damaged plastic happens to the best of us. But before you drag them to the curb, you should know exactly How to Restore Faded Plastic Patio Furniture without spending a fortune. Nobody want to sit on a chair that leaves white powder all over their dark clothes. This guide is going to walk you through exactly what works and what doesn’t, using stuff you probably already own. Let’s roll up our sleeves and give those sad-looking seats a second chance at life.
Step 1: Prep Like a Pro (Because Dirt Hides the Real Damage)
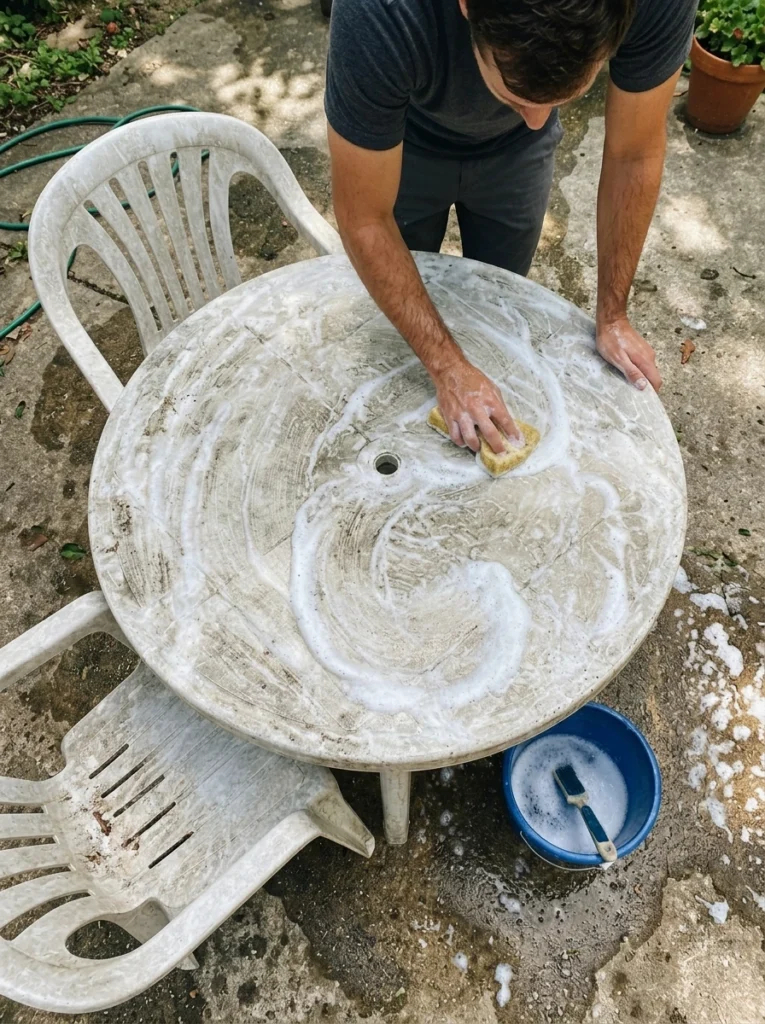
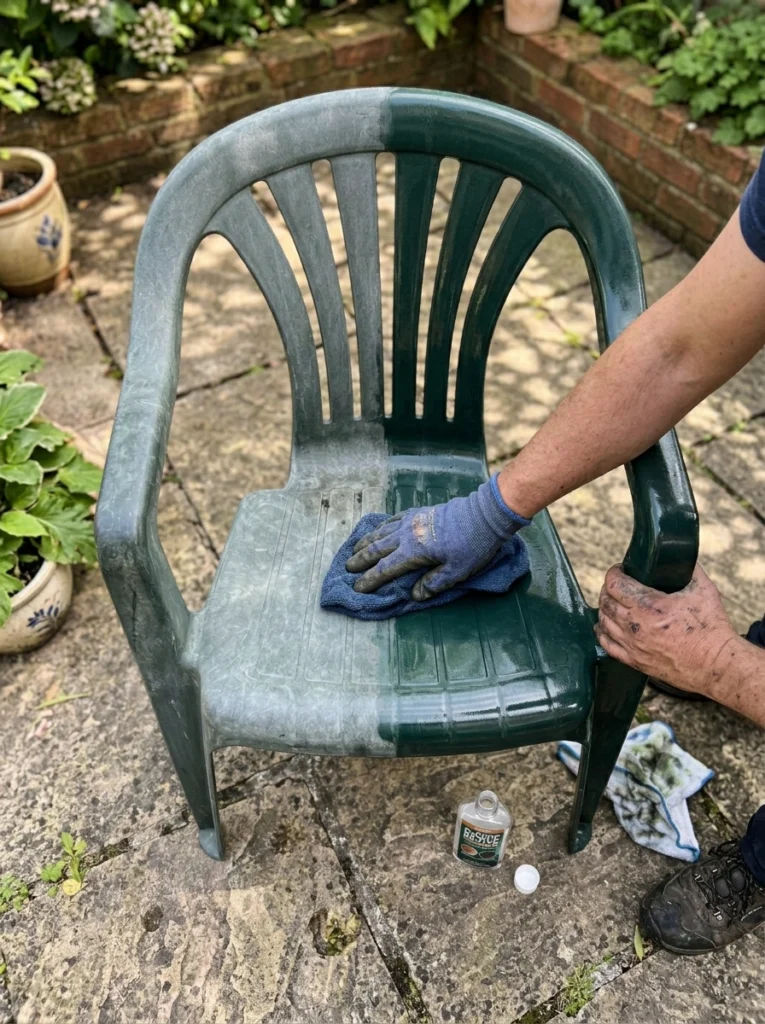
You can't restore plastic furniture if it's covered in spider webs and last year's pollen. Move your project outdoors where the lighting is good and ventilation is plenty. Start with a solid patio furniture cleaning using warm water and a good squirt of dish soap. Grab a sponge and wash away the surface grime. Why? Because you need to see the actual fading versus what's just dirt. Rinse it off with a hose and let it dry completely. Before moving on to heavier treatments, always test a tiny hidden spot underneath the seat. Better safe than sorry, right?
Step 2: The Pantry Scrub (Baking Soda & Vinegar)
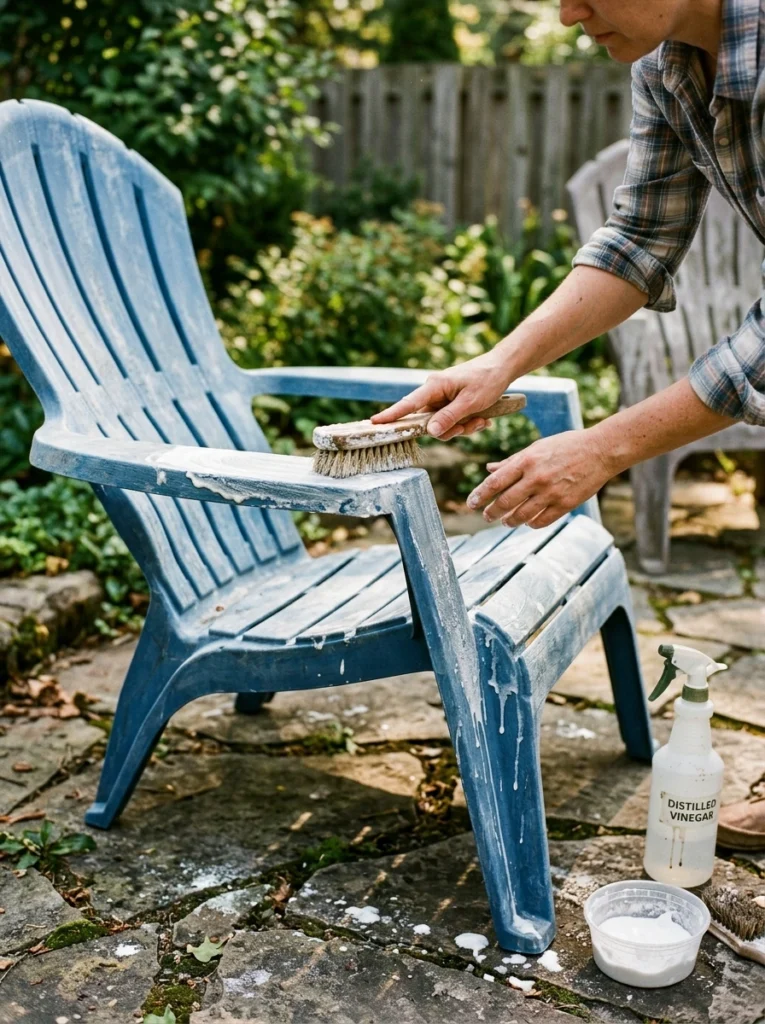
If the chair feels chalky to the touch, oxidation has set in. To bring back color plastic needs a gentle abrasive. Mix up a baking soda paste that have the consistency of wet sand. Scrub this in small, circular motions using a damp cloth or a soft-bristled brush. The baking soda acts as a micro-exfoliant, safely lifting that dead, chalky top layer without scratching the good plastic underneath. Once you've scrubbed it down, spray the whole thing with a 50/50 vinegar and water solution. It’ll fizz up slightly, which helps break down stubborn stains. Rinse thoroughly and dry it with an old towel.
Step 3: The Heat Gun Trick (For Stubborn Fading)
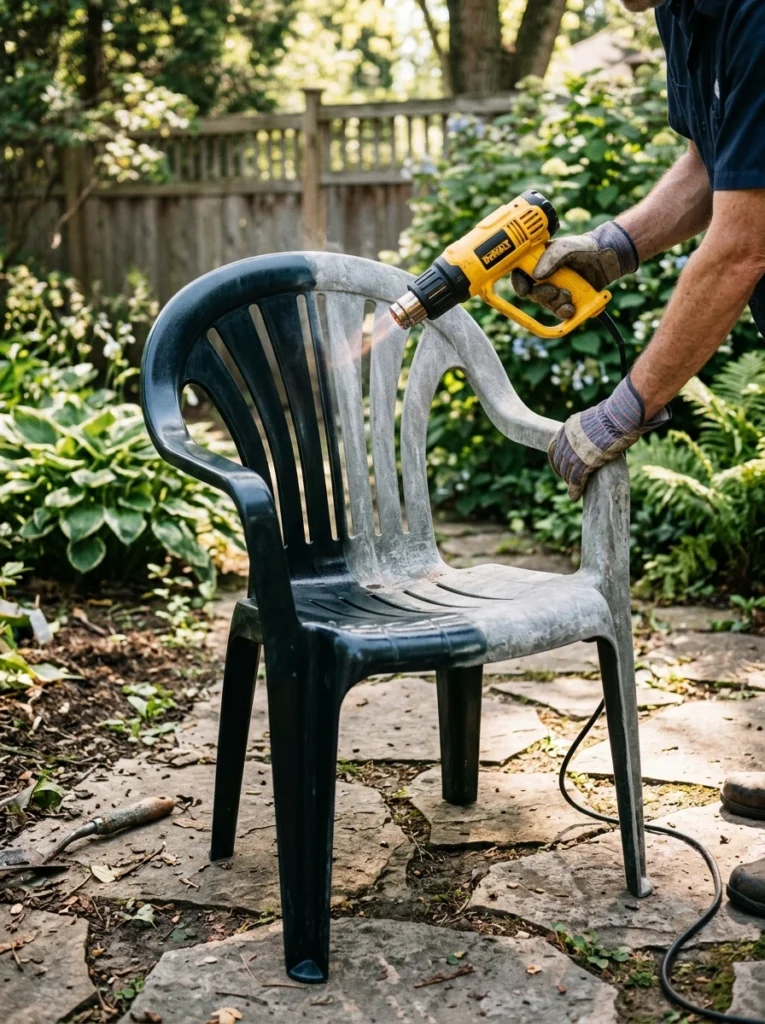
Have you ever seen someone use a heat gun on car bumpers? The same trick works wonders for DIY furniture restoration. The heat carefully melts the microscopic top layer of oxidized plastic, drawing the natural oils back to the surface and instantly restoring the deep color. But you have to be super careful! Keep the heat gun on a low setting and hold it about six inches away. Keep it moving continuously. If you stop in one place, you'll melt a hole right through your faded outdoor chairs. Work in slow, sweeping motions for even color restoration. Do this outdoors so any weird plastic fumes blow away safely.
Step 4: Using Commercial Plastic Restorers
If using power tools makes you nervous, skip the heat and grab an automotive plastic restorer. These liquid treatments are specifically formulated to soak in and rehydrate thirsty material. When applying these liquids, your gonna notice an immediate difference. Just pour a little bit onto a microfiber cloth and wipe it into the surface. Let it sit for a few minutes so the plastic can drink it in, then buff off any excess with a clean, dry cloth. This method gives a beautiful, rich polish that looks highly realistic without risking heat damage.
Step 5: Seal and Protect (Don’t Skip This!)
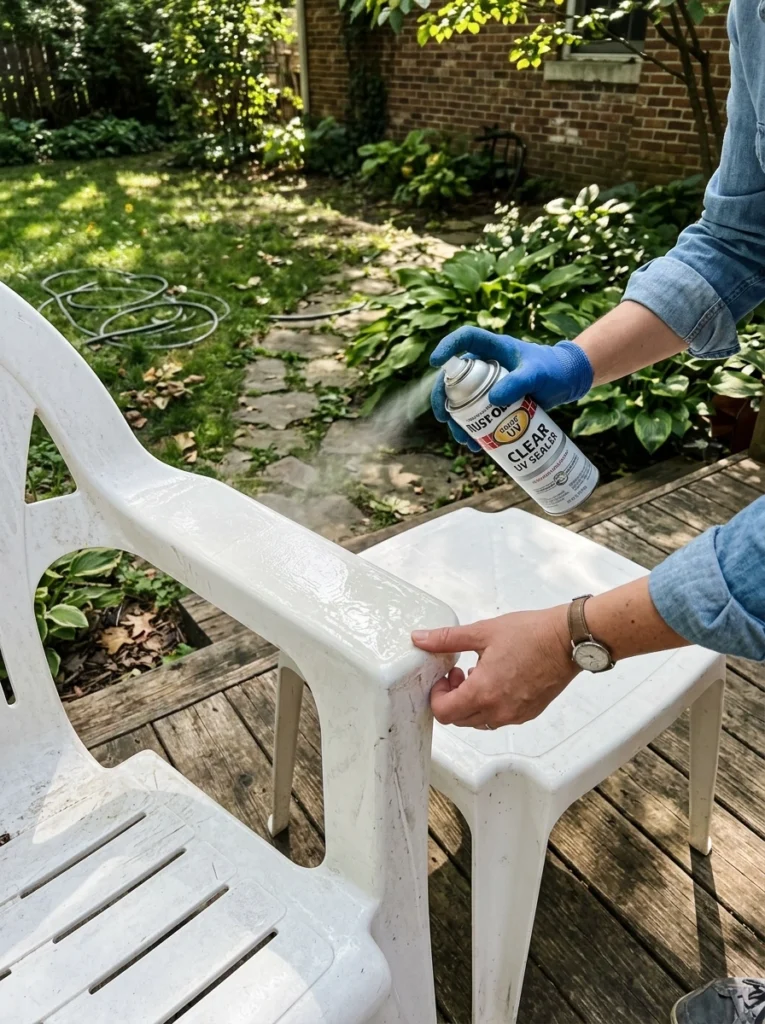
Once your plastic restoration is done, leaving the raw surface exposed means the sun will just bleach it again by next month. You need to lock in all that hard work. Spray a UV-protectant clear coat or a dedicated marine-grade plastic sealer over the entire piece. Apply it in light, even layers rather than one heavy, drippy coat. This acts like sunscreen for your furniture. Let it cure in a shaded area for at least 24 hours. Now you have a shiny, protected surface that repels water and fights off harsh UV rays.
Final Thoughts
Now that your setup looks great again, keeping it that way is actually pretty simple. The biggest enemy of outdoor furniture care is lazy maintenance. Simply throwing a protective cover over your chairs when they aren’t being used will easily double their lifespan. Try to wipe them down with a mild soapy cloth every few weeks during the summer to stop pollen and dirt from baking into the plastic. Also, reapplying a UV protectant spray at the start of every spring ensures the sun won’t ruin your hard work. Taking five minutes to maintain them beats spending hours trying to reverse years of neglect.