
Hey there, bookshelf enthusiast! So, you’ve got a shelf stuffed with books, maybe some random knick-knacks, and it’s just sitting there looking… well, let’s call it “uninspired.” Don’t worry, I’ve got you covered. Today, I’m spilling all the tea on how to transform that blah bookshelf into a designer-level showstopper. And no, you don’t need a fancy degree or a fat wallet—just a little creativity and some elbow grease. Ready to make your guests think you secretly hired an interior designer? Let’s dive in.
Why Bother Styling a Bookshelf?
First off, why does this even matter? A styled bookshelf isn’t just about looking cute (though it totally will). It’s about setting a mood, telling a story, and making your space feel like you. Think of it as a silent flex—your personality on display without you saying a word. Whether you’re into sleek minimalism or chaotic maximalism, your bookshelf can scream “this is me” in the best way possible. Plus, it’s a cheap way to level up your room without buying new furniture. Win-win, right?
Step 1: Clear the Deck
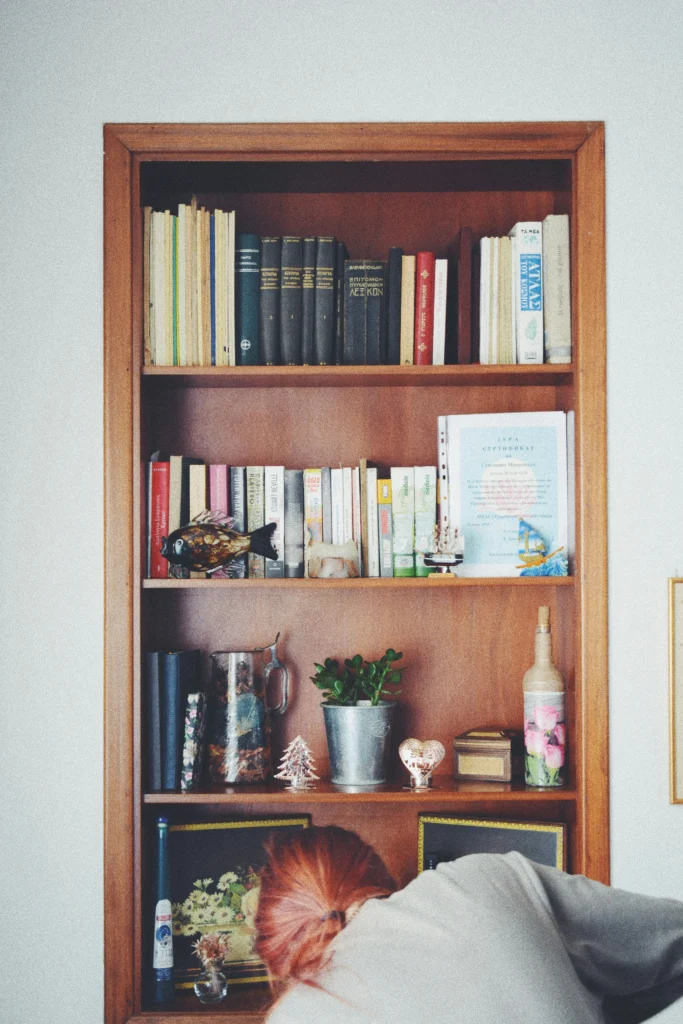
Before you start dreaming of Pinterest-worthy shelves, you’ve got to declutter. Yep, I said it—the dreaded “D” word. Take everything off your bookshelf. Books, that weird candle you never light, the creepy figurine from your cousin’s vacation—all of it. This isn’t just about tidying up; it’s about giving yourself a blank slate. Trust me, you can’t see the forest for the trees when your shelf is a hot mess. So, channel your inner Marie Kondo and strip it bare.
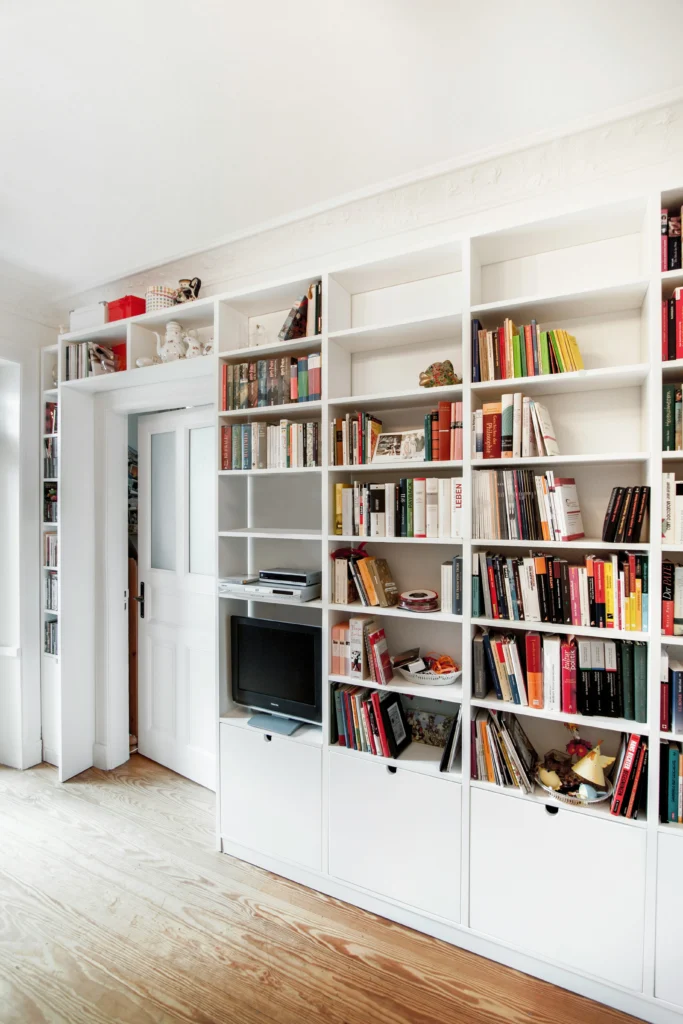
Step 2: Get Those Books in Line
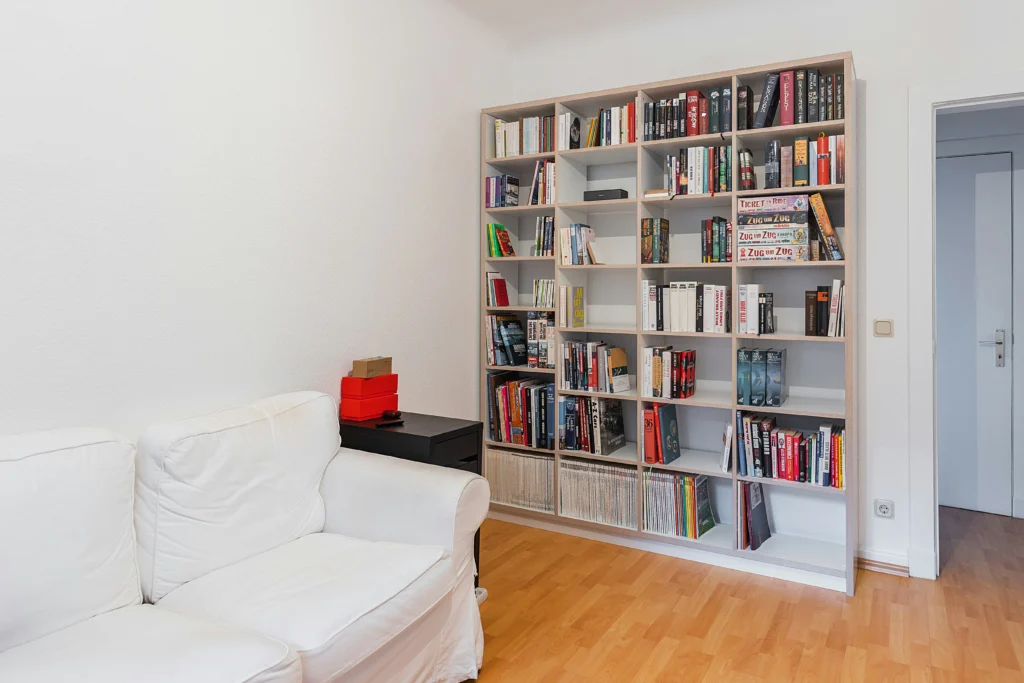
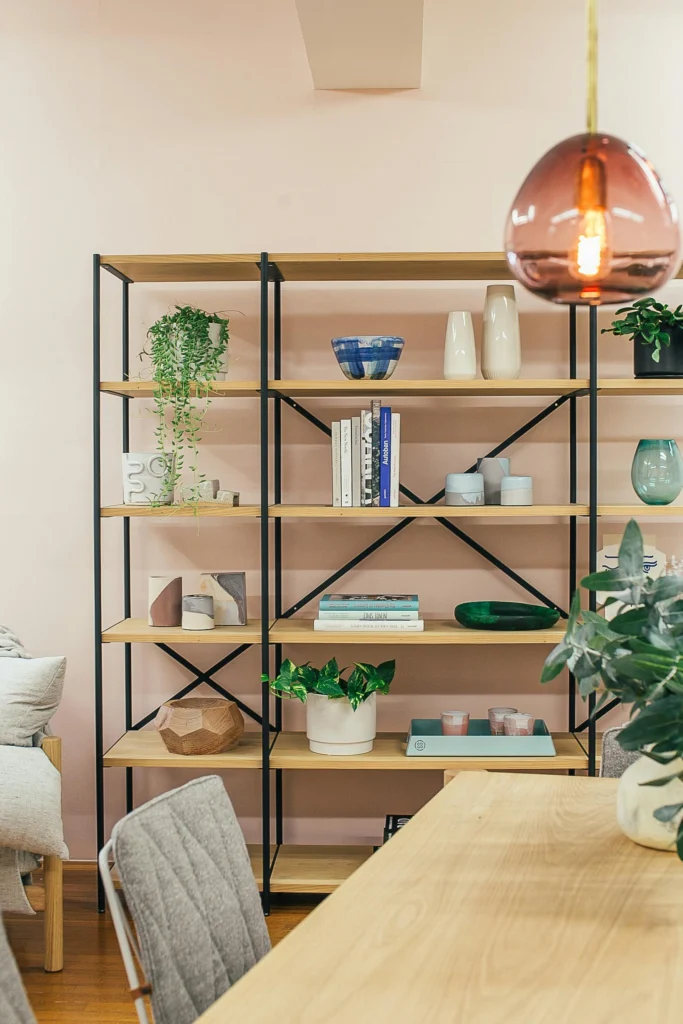
Books are the MVPs of any bookshelf, but how you arrange them? That’s the game-changer. Here’s the breakdown:
- Color-Code Like a Pro: Designers love this trick. Sort your books by color for that rainbow vibe. It’s visually stunning and surprisingly satisfying. Got a ton of beige covers? Toss in a bright red spine to shake things up.
- Size Matters: Line them up from tallest to shortest (or flip it). It’s clean, simple, and screams “I’ve got my life together.” Spoiler: you don’t, but the shelf doesn’t snitch.
- Genre or Author Vibes: If you’re the practical type, group by genre or author. It’s functional and looks good. Double points for utility.
- Mix It Up: Don’t just stand them all upright like soldiers. Stack some horizontally, leave others vertical. It adds texture and keeps things interesting.
Experiment a little. See what feels right for your vibe. There’s no bookshelf police coming to judge you—yet.
Step 3: Bring in the Decor
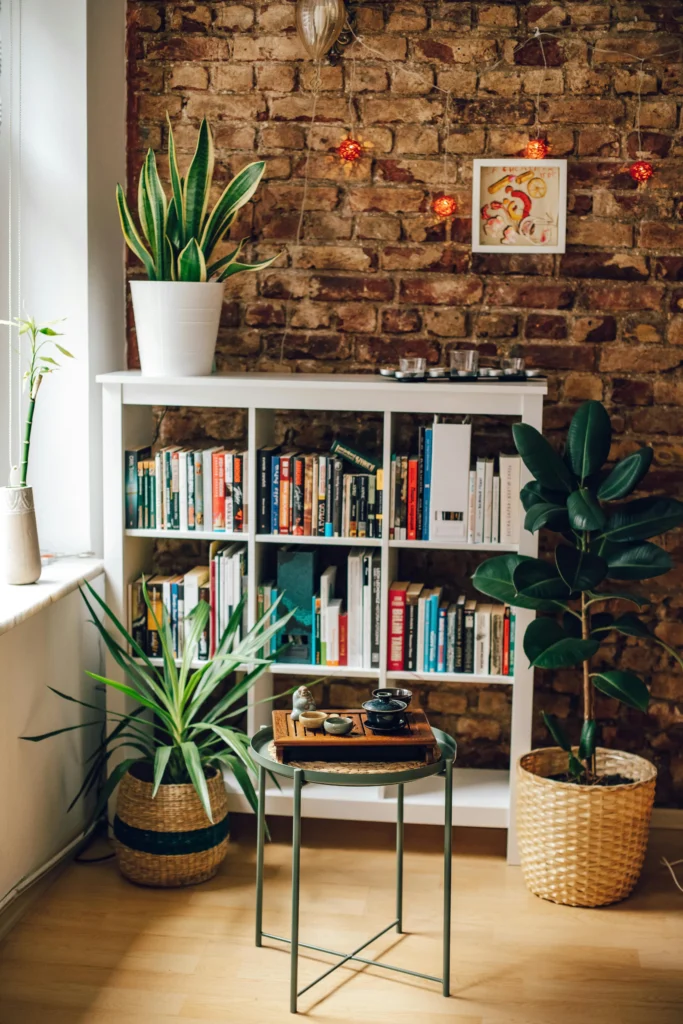
Books alone won’t cut it for that designer look. You need some flair—think of it as accessorizing your shelf’s outfit. Here’s what works:
- Art and Photos: A small frame or a cute family pic adds heart. Keep it chill— one or two per shelf max. No one wants a photo gallery explosion.
- Plants: Pop in a succulent or a tiny fern. Greenery brings life (literally) and softens the edges. Bonus: they’re hard to kill.
- Sculptures or Quirky Stuff: Got a funky statue or a thrift store gem? Use it. Pick pieces that scream you, not just random junk.
- Candles and Vases: These add height and texture. Light the candle if you’re feeling fancy, or just let it sit there looking pretty.
The key? Don’t overdo it. You’re curating, not hoarding.
Step 4: Play with Heights and Layers
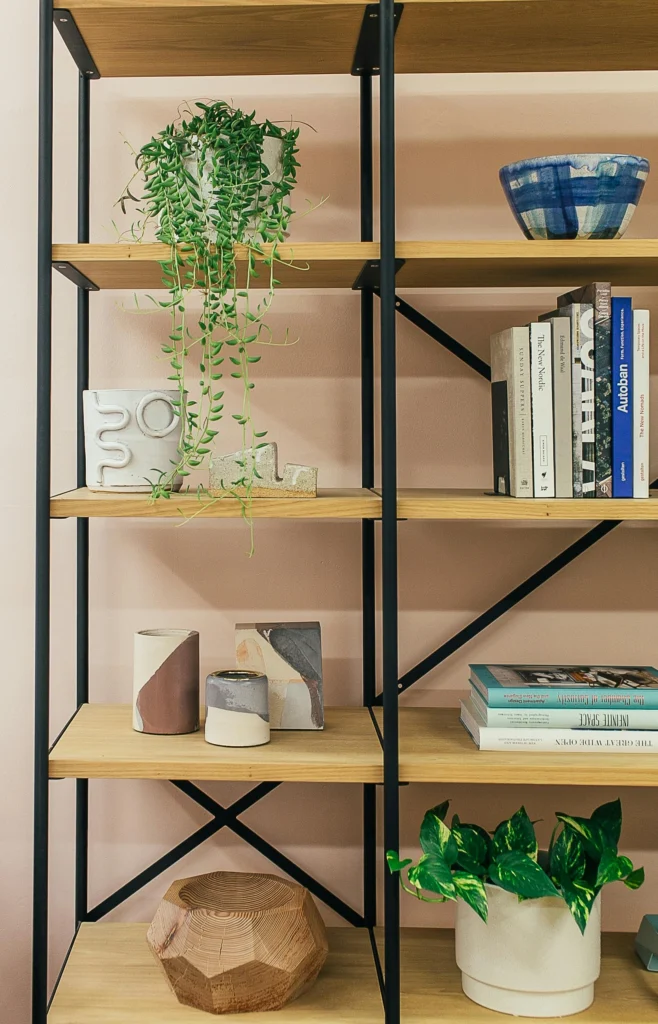
Here’s where the magic happens. A flat, even row of stuff? Yawn. Mix up the heights and layer like a pro:
- Bookends FTW: They hold your books and look cool. Grab some funky ones—a geometric shape or a metallic finish works wonders.
- Horizontal Stacks: Stack a few books flat and plop a small decor piece on top. Instant pedestal action.
- Lean, Don’t Hang: Prop a piece of art against the back of the shelf instead of mounting it. It’s chill, casual, and adds depth.
Think of it like building a little skyline. Vary the heights, and suddenly your shelf has personality.
Step 5: Embrace the Empty Space
Listen up—this one’s huge. Negative space is your friend. Cramming every inch with stuff makes it look like a thrift store shelf on clearance day. Leave some gaps. Let it breathe. A shelf with just one book and a plant? Chef’s kiss. It’s bold, balanced, and says “I know what I’m doing.” Less is more, folks.
Step 6: Edit Like Your Life Depends On It
You’re almost there! Now, step back and squint at your masterpiece. Does it feel off? Too crowded on the left? Move stuff around. Take something away if it’s screaming “too much.” Editing is where the pros shine—don’t skip it. I once thought I nailed my shelf, only to realize it looked like a flea market stall. A quick edit, and boom—perfection. Well, close enough.
My Hot Mess to Masterpiece Story

Can I be real for a sec? My first attempt at styling a bookshelf was a disaster. I threw on every trinket I owned—candles, a random owl statue, some old Polaroids. Stepped back and… oof. It was chaos. So, I scrapped it, followed these steps, and tried again. Second time’s the charm, right? Now it’s my favorite spot in the house. Trial and error, my friend—it’s all part of the gig.
Bonus Tips to Slay the Game
- Mix Textures: Wood, metal, glass, fabric—blend them for that rich, layered look.
- Odd Numbers Rule: Group items in threes or fives. It’s a design hack that just works. Even numbers feel stiff; odd ones feel natural.
- Contrast Is King: Neutral books? Add a bright vase. Colorful decor? Tone down the books. Balance is everything.
- Switch It Up: Don’t let your shelf get stale. Rearrange it for the seasons or just ‘cause you’re bored. Keeps it fresh without costing a dime.
The Final Word
Styling a bookshelf like a designer isn’t rocket science, but it does take some thought. It’s about blending function with flair, showing off who you are, and having fun while you’re at it. Start with a clean slate, play with your books and decor, and don’t be afraid to tweak until it’s just right. Before you know it, your shelf will go from “meh” to “whoa”—and you’ll be the genius behind it all. So, what are you waiting for? Grab those books and get styling!