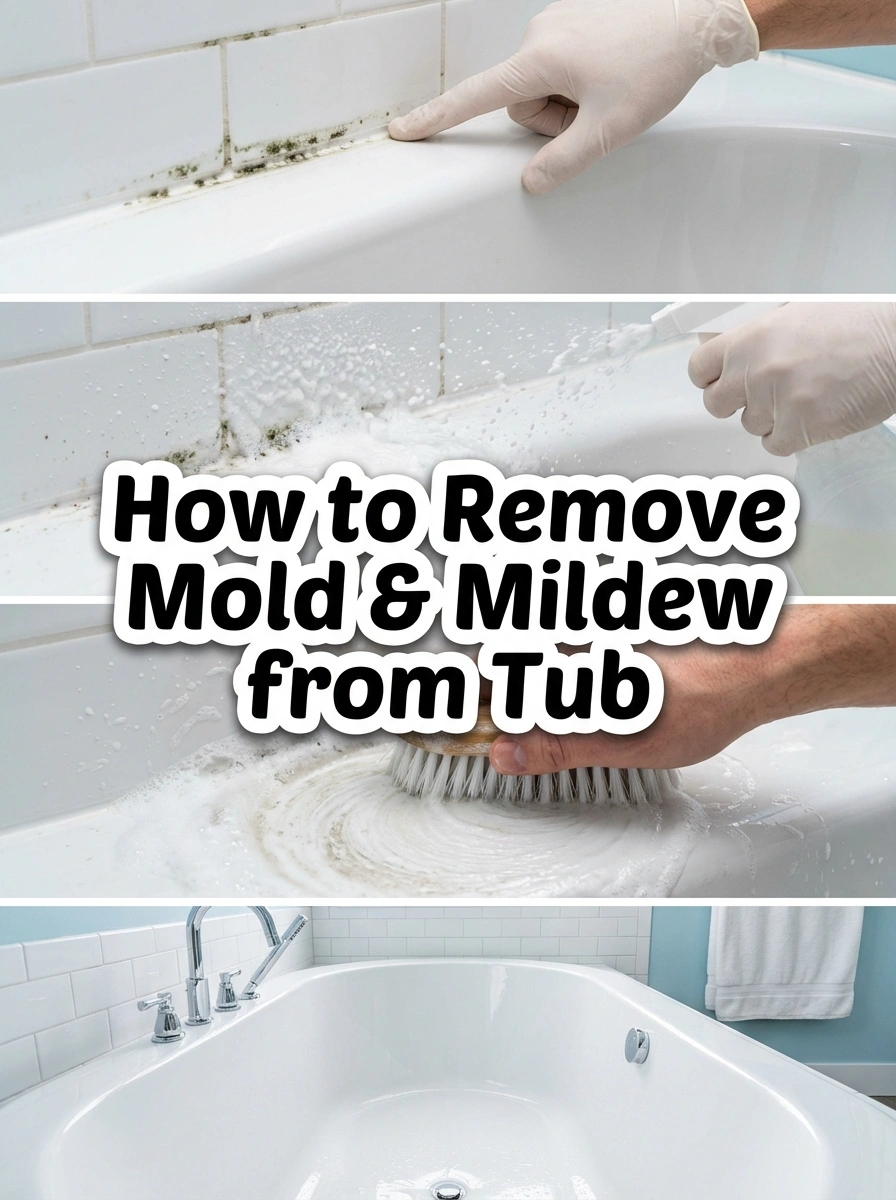
Let’s be real for a second. You spend time curating a gorgeous bathroom aesthetic, picking out the perfect towels, and then—bam. Black spots in the grout. It’s the worst, right? Figuring out how to remove mold and mildew from tub can feel like a never-ending battle. I used to just scrub until my arms felt like jelly, but that doesn’t actually work. There is actually a lot of different ways to tackle it without losing your mind. Let me show you how to finally evict that gross bathroom fungus for good, so you can actually enjoy your showers again.
Step 1: The Prep Work (Safety First)
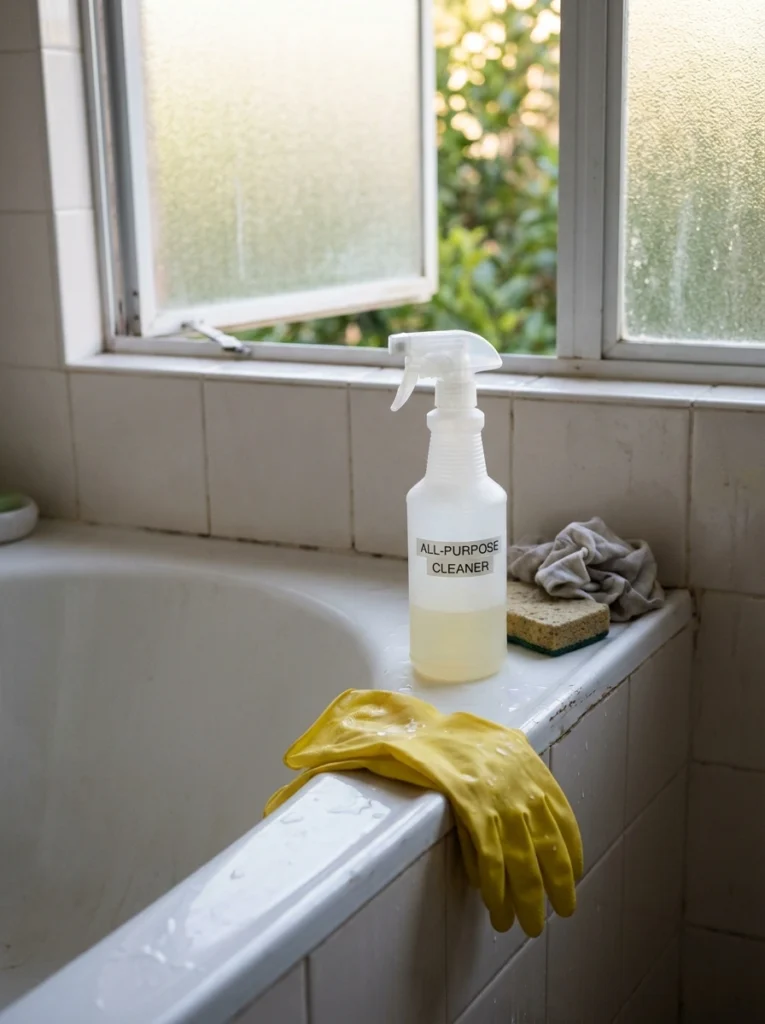
Before we start spraying everything in sight, we need to prep. Mold is no joke, and neither are the fumes from deep cleaning tub sessions. Open a window or turn on that exhaust fan—you need good ventilation! Grab a pair of thick rubber gloves because it protect your hands from drying out. Also, a quick but highly important safety rule: NEVER mix bleach with ammonia or vinegar. It creates toxic gas, and we definitely don’t want that.
Step 2: Choose Your Weapon
What’s your go-to cleaner? When searching for reliable bathroom cleaning tips, you’ll find people swear by different potions. If you want natural cleaning solutions, vinegar cleaning is top-tier. Plain white vinegar kills a huge percentage of mold species. Just put it in a spray bottle straight up—no water needed.
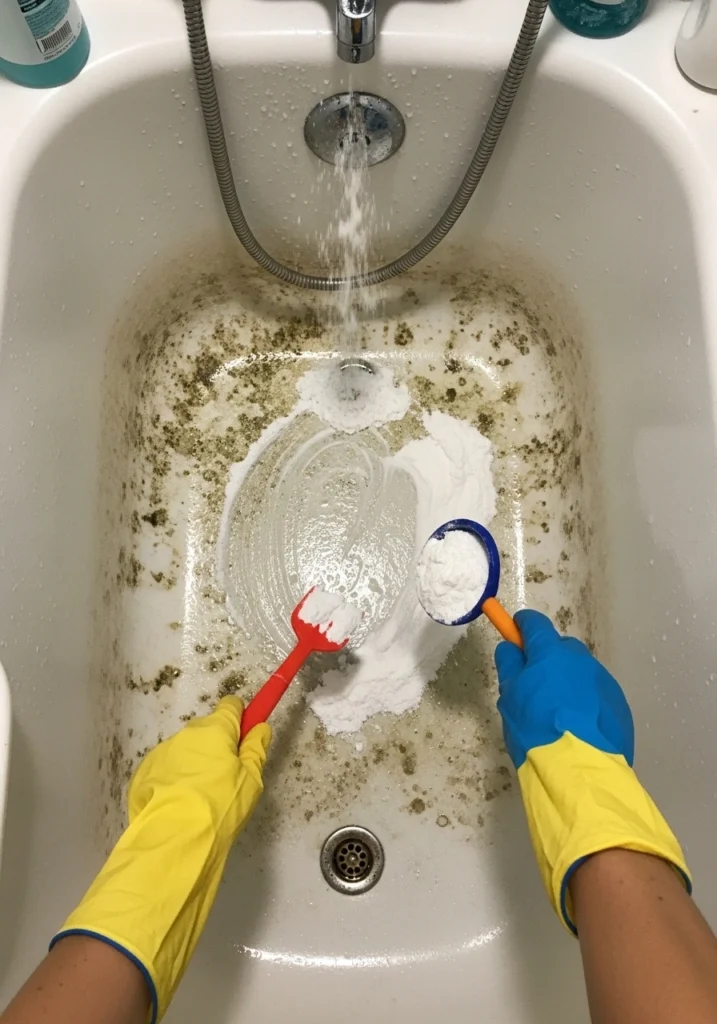
If you need something stronger, a 3% hydrogen peroxide solution is amazing, especially for lightening up grout. For tough, gritty stains that need abrasion, making a thick baking soda scrub with a little water works wonders. Of course, you can grab store-bought mildew removers too, but honestly, the stuff in your pantry usually does the trick just fine.
Step 3: The Soak and Scrub Technique
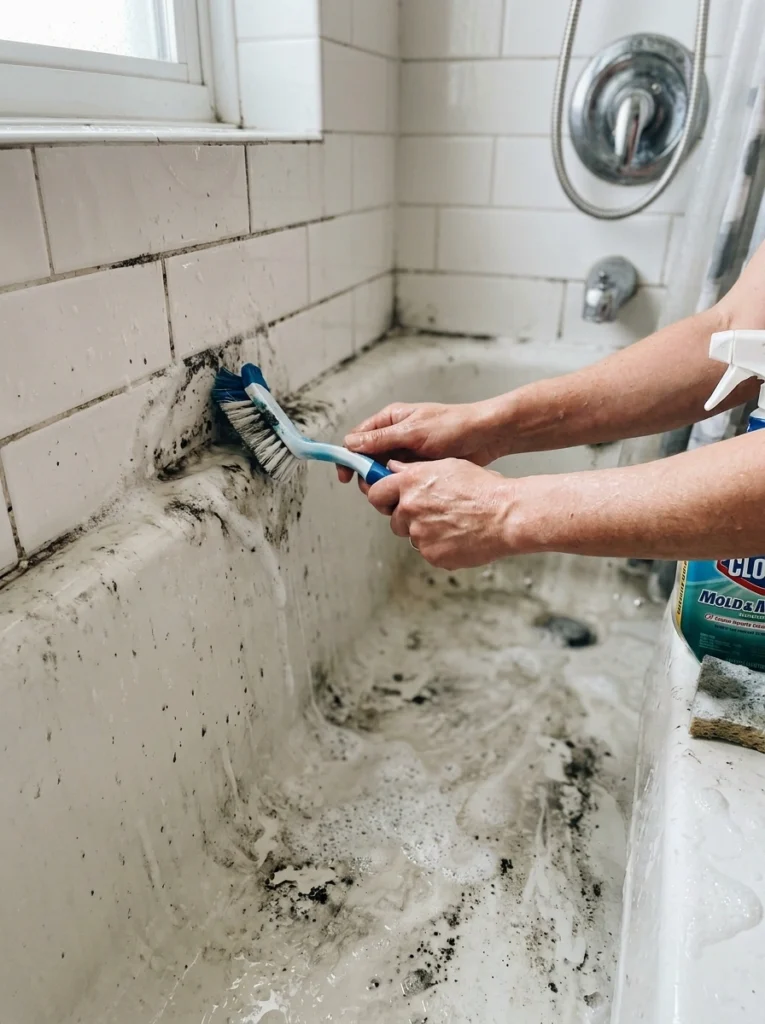
Spray your chosen liquid right onto the mold in bathtub grout and let it sit. Don’t rush this! Give it at least 30 minutes to an hour to really soak in and break down the spores.
While it sits, let’s talk about your tub material. If you has an acrylic or fiberglass tub, be gentle. Use a soft sponge or a microfiber cloth so you don’t accidentally scratch the finish and create micro-crevices for future mold to hide in. Got a ceramic or porcelain tub? You can go harder with a stiff-bristled brush. Once the soaking time is up, start scrubbing in small circles to lift the stains right off the surface.
Step 4: Rinse and Assess
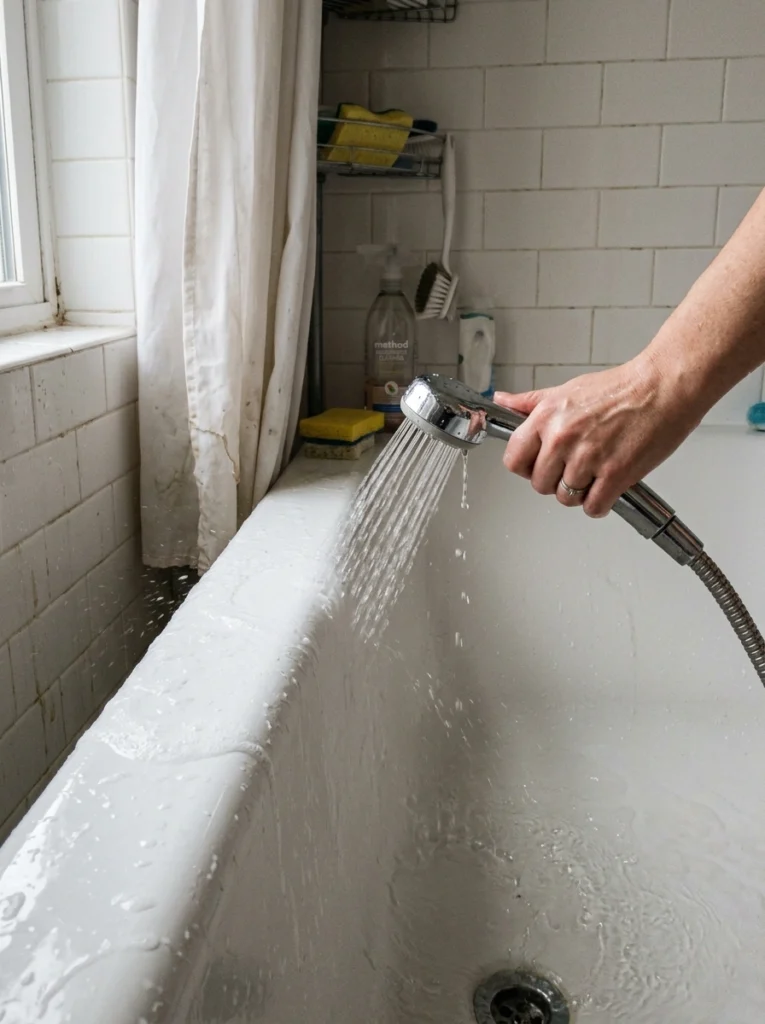
Grab your showerhead or a small bucket and rinse the whole area with warm water. Look closely at the edges and corners. Did you remove mildew from bathroom crevices completely? Sometimes, stubborn mold leaves a little shadow behind. If that happens, slap on some of that baking soda paste, let it sit for another 15 minutes, and scrub again. It might take two rounds of elbow grease for neglected tubs, but seeing that bright white grout again makes it totally worth the effort.
Final Thoughts
Getting rid of the gross stuff is only half the battle. If you want to stop doing this deep clean every single month, you have to focus on moisture control. Mold loves damp, dark spaces, so making a few tweaks to your bathroom maintenance routine changes everything. Start wiping down your tub with a squeegee after you shower—it literally takes ten seconds. Keep the exhaust fan running for at least twenty minutes after you step out, or just leave the door cracked open. Staying on top of the humidity means the spores never get a chance to settle and grow into a nightmare again.